Why a Safety Check Matters Before Any Repair
Most home repair injuries and expensive do-overs share a common cause: someone started working before they were truly ready. A leaky faucet fix that turns into a flooded cabinet, a shelf installation that clips a hidden wire - these aren't freak accidents. They're the predictable result of skipping a few key preparation steps.
This checklist is designed for beginners and casual DIYers who want to work confidently without cutting corners on safety. Before you pick up a single tool, run through these checks. The whole process takes 15-30 minutes and can prevent hours of frustration - or worse, a trip to urgent care.
If you're wondering which projects are appropriate to tackle yourself in the first place, our honest look at DIY trade-offs is a good starting point. And once you're in the habit of safe repairs, consider building on that foundation with a room-by-room maintenance schedule to stay ahead of problems year-round.
Some Work Requires a Licensed Professional
Electrical panel work, gas line repairs, structural modifications, and roofing are commonly regulated in the US and may require licensed contractors, building permits, and formal inspections. Attempting these without proper credentials can void your homeowner's insurance, create liability, and - most critically - put you and your household in danger. When in doubt, call a licensed professional before starting.
Tools and Resources You'll Need
Before running through the checklist, gather the basics listed below. Not every repair needs all of these, but knowing what's on hand - and what isn't - helps you plan accurately.
Non-contact voltage tester
Confirms electrical circuits are safely de-energized before you touch any wiring.
Stud finder with wire/pipe detection
Locates wall studs and hidden utilities to prevent accidental damage when drilling or cutting.
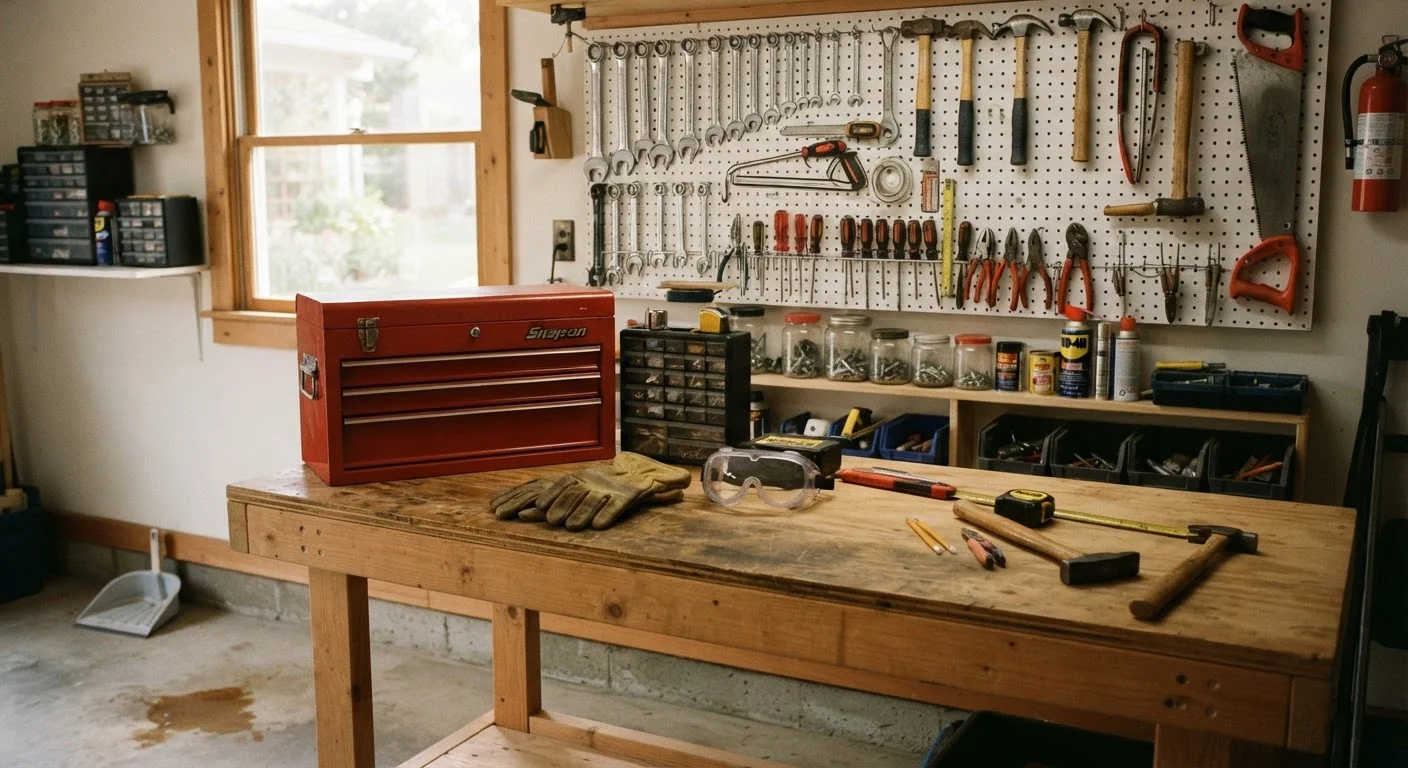
Safety glasses or goggles
Protects eyes from flying debris, dust, and chemical splash during repair work.
Work gloves
Shields hands from cuts, abrasions, and chemical exposure depending on task type.
Portable work light
Supplements room lighting to ensure clear visibility in dim work areas.
N95 respirator mask
Filters fine particles when sanding, cutting drywall, or working with dusty or chemical-heavy materials.
Basic first-aid kit
Provides immediate supplies to treat minor cuts, scrapes, or irritation that may occur on the job.
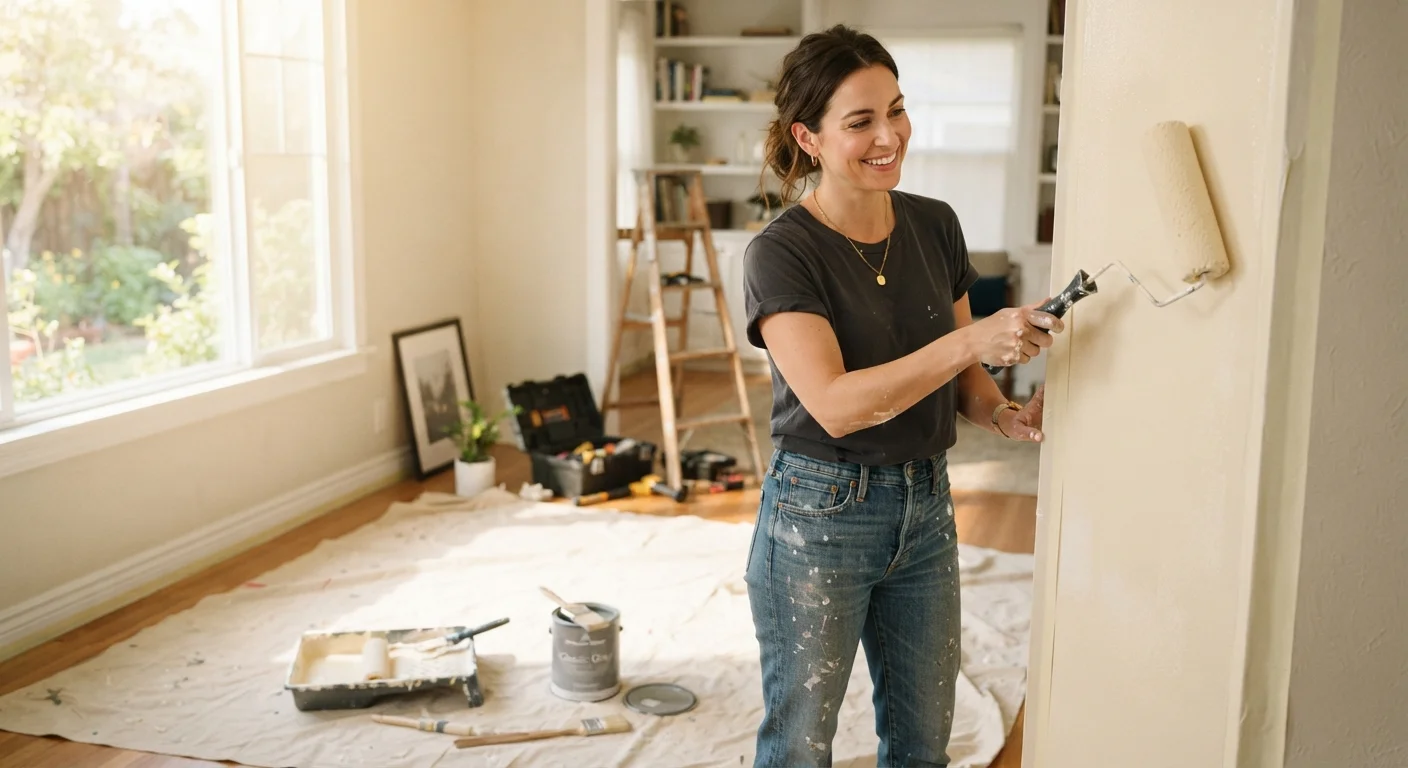
Drop cloths or protective sheeting
Protects floors, furniture, and nearby surfaces from dust, debris, and spills.
The Pre-Project Safety Checklist
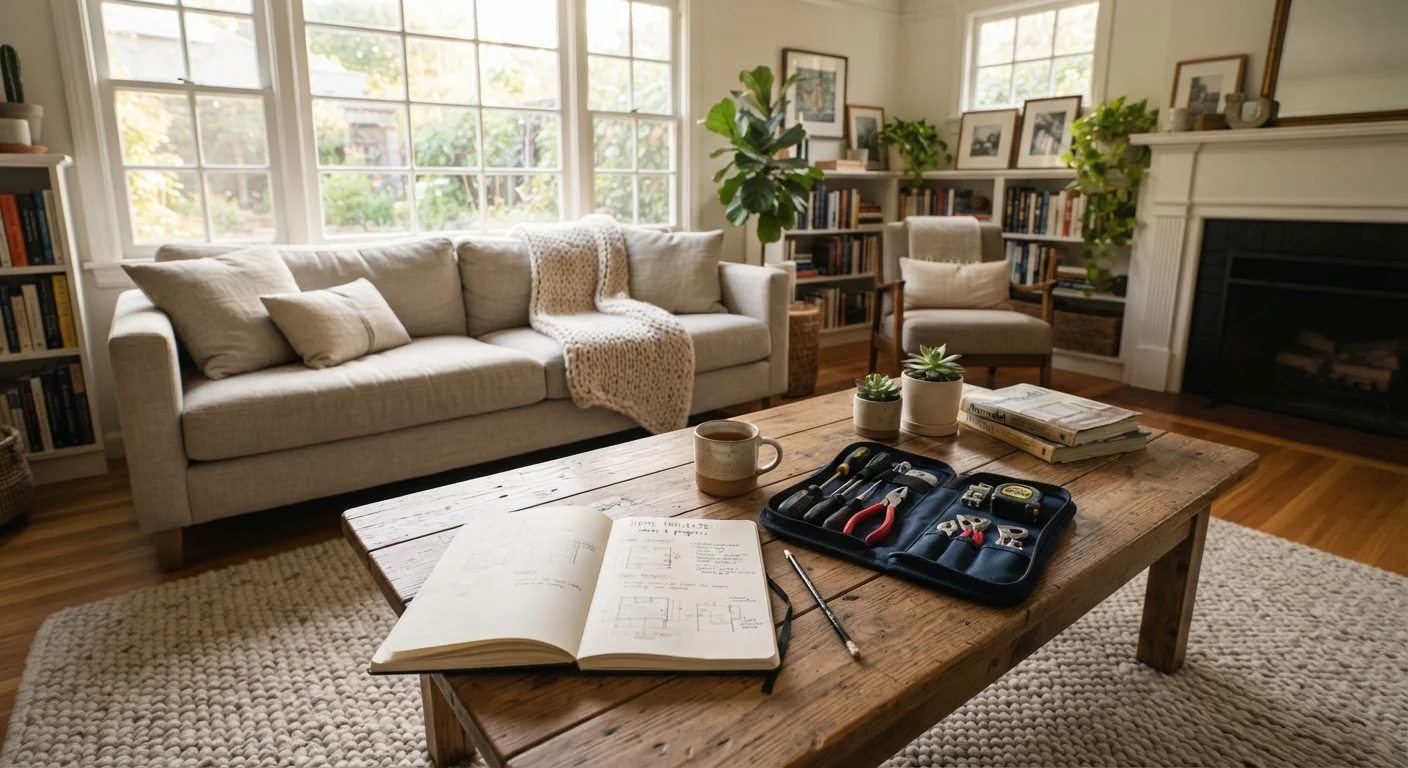
Work through each group below before starting your repair. Check off items as you go - don't skip a category just because it feels obvious. That's exactly when gaps get overlooked.
Scope and Permits
Workspace Preparation
Utility and Hazard Controls
Personal Protective Equipment (PPE)
Tools and Materials
Never Skip Utility Shutoffs
Working on plumbing, electrical, or gas systems without first shutting off the relevant utility is one of the most dangerous mistakes a DIYer can make. Even a task that seems minor - like replacing a light switch or tightening a pipe fitting - can cause serious injury if the power or water is still on. Always verify shutoff with a tester or by running a downstream fixture before proceeding.
Older Homes May Contain Hazardous Materials
Homes built before 1980 may contain asbestos in insulation, floor tiles, or drywall joint compound, and lead paint on surfaces. Disturbing these materials without proper precautions poses serious health risks. If your home is older and you're unsure about the materials involved, consult a certified inspector before cutting, sanding, or demolishing any surface.
After the Checklist: What Comes Next
Once you've confirmed every item, you're in a much stronger position to start work safely and efficiently. Keep your checklist nearby as a reference while you work - conditions can change, especially on longer projects.
If your walkthrough revealed a task that involves your home's electrical panel, gas lines, load-bearing walls, or roof structure, stop and consult a licensed contractor. These areas carry real risk of serious injury and are often regulated by local building codes that require permits and inspections. No checklist replaces professional assessment for high-hazard work.
After your repair is complete, take a few minutes to clean up, return tools to their proper places, and note anything that needs follow-up. Small issues spotted during one repair often hint at larger maintenance needs nearby. Tracking these over time - using something like a seasonal maintenance checklist - keeps small problems from becoming expensive ones.