Why the Distinction Matters
Walk into any hardware store and you'll find tubes and bags of both caulk and grout side by side. They're often the same color, and many packaging labels don't explain when to use one over the other. Using the wrong material isn't just a cosmetic issue - it can mean water infiltrating your walls, tiles popping loose, or joints cracking within a season.
The fundamental difference comes down to flexibility. Grout is a cement-based filler that cures hard and rigid. That's exactly what you want between tiles that sit in the same flat plane. Caulk - typically silicone or latex-based - stays permanently flexible, which makes it the right choice wherever two surfaces meet at a change in direction or where slight movement is expected.
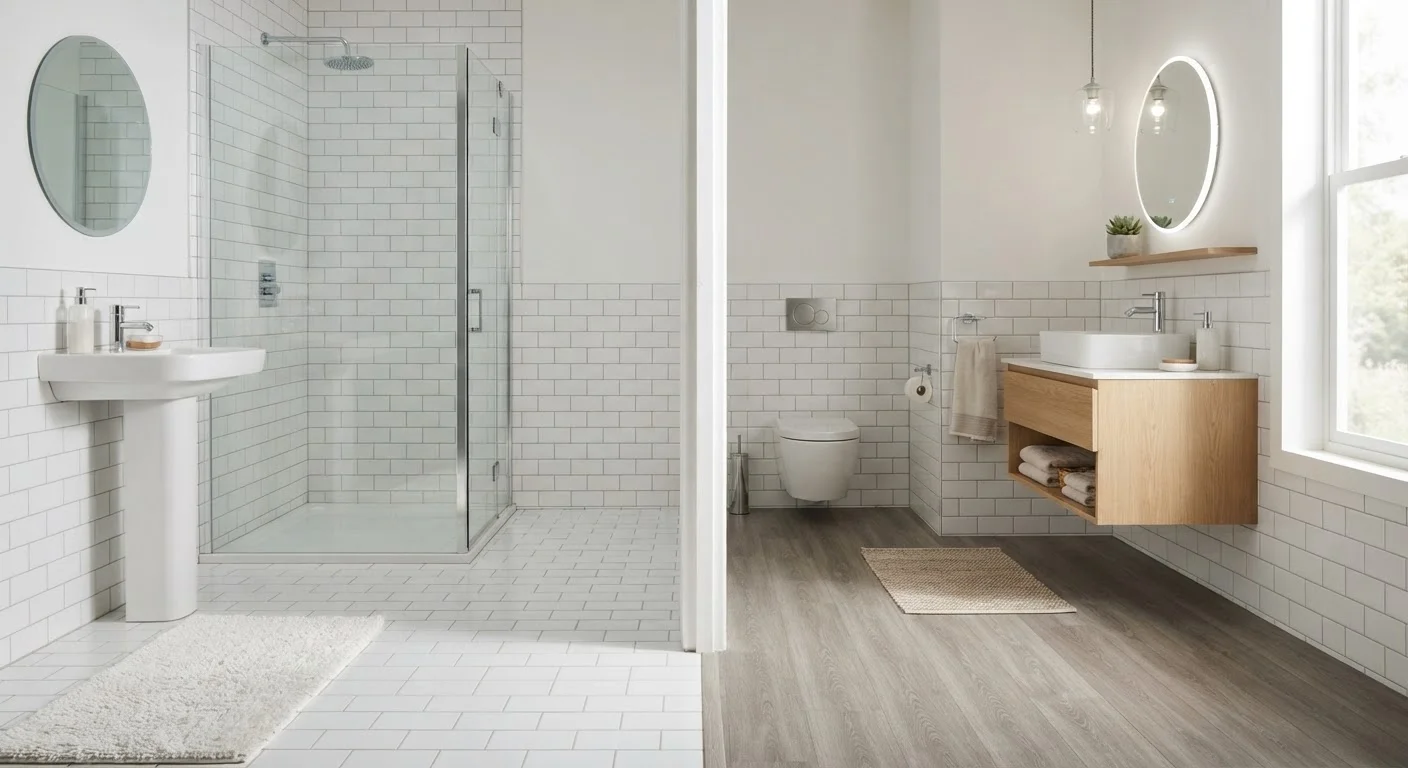
For tiled wet areas like showers and bathrooms, choosing correctly is especially important. If you're also weighing flooring options for these spaces, our comparison of tile versus luxury vinyl plank in wet rooms can help inform your broader planning.
Where Each Material Belongs
A simple rule of thumb: grout goes between tiles, caulk goes at the joints. Here's how that breaks down in practice:
- Grout: Use it to fill the regular, evenly spaced gaps between tiles on a flat wall surface, shower floor, or countertop field. It anchors tiles visually and prevents debris from collecting in the seams.
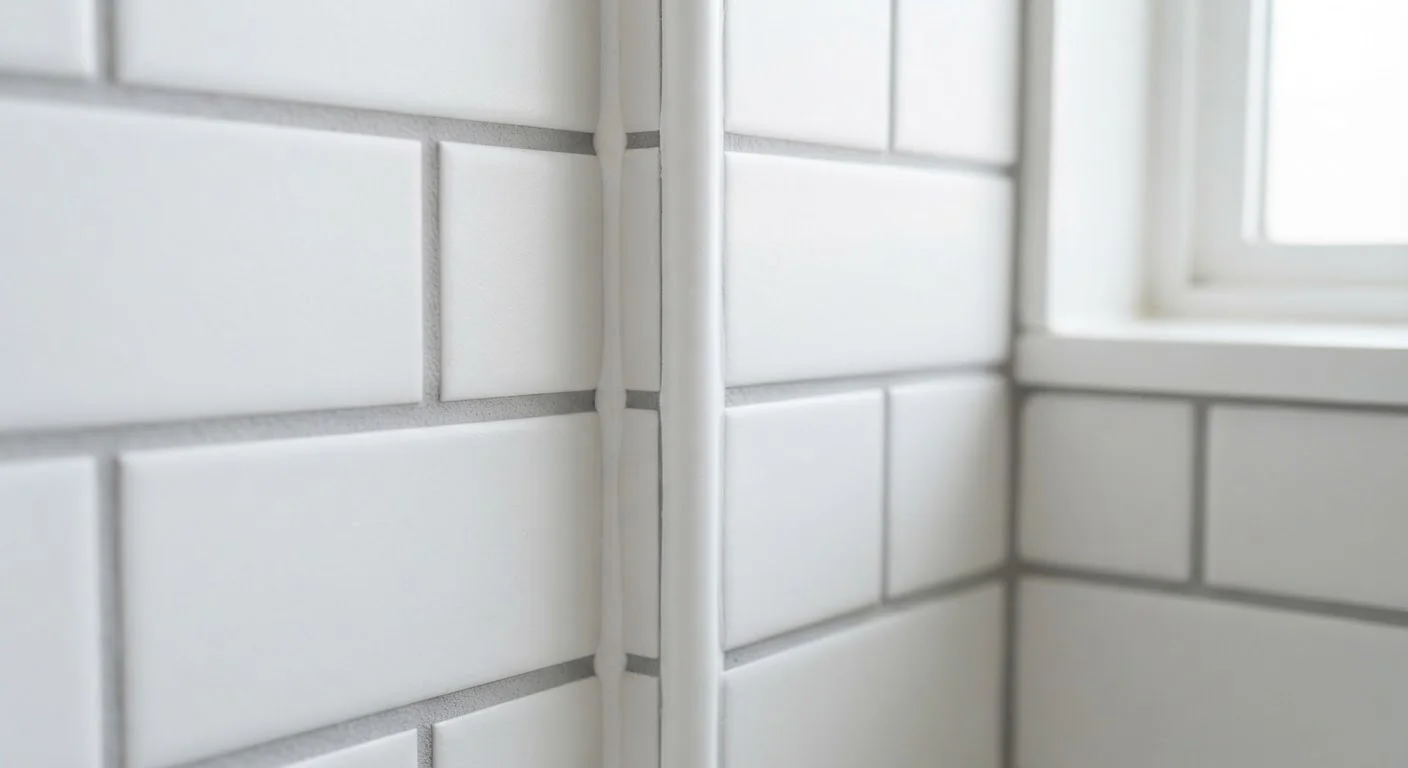
- Caulk: Use it at inside corners (where wall meets wall or wall meets floor), along the top edge of a tub surround, where tile meets a vanity or fixture, and at any expansion joint. These are spots that flex - even slightly - as your home's structure breathes with seasonal temperature changes.
The tile industry's installation guidelines (published by organizations such as the Tile Council of North America) specifically recommend caulk - rather than grout - at all changes of plane and changes of material. This isn't a preference; it's a recognized best practice for preventing water damage.
| Criterion | Caulk | Grout |
|---|---|---|
| Flexibility | Stays flexible after curing | Cures rigid and hard |
| Best location | Corners, transitions, joints at changes of plane | Flat seams between tiles in the same plane |
| Water resistance | Highly waterproof (especially silicone) | Water-resistant; requires sealing for best results |
| Movement tolerance | Absorbs slight structural movement | Cracks if the joint flexes |
| Base material | Silicone or latex polymer | Cement-based (or epoxy) |
| Application tool | Caulk gun or squeeze tube | Rubber float or grout bag |
| Typical cure time | 1-24 hours (product-dependent) | 24-72 hours before water exposure |
Choosing the Right Type of Caulk or Grout
Not all caulks and grouts are interchangeable within their own categories.
Grout types
- Sanded grout contains fine sand particles and is used for joints wider than about 1/8 inch. The sand adds body, reducing shrinkage as it cures.
- Unsanded (non-sanded) grout is smoother and works best for joints narrower than 1/8 inch, including wall tiles where sand could scratch the surface.
- Epoxy grout is a more advanced option that's highly stain-resistant and nearly non-porous, often used in commercial or high-traffic settings.
Caulk types
- Silicone caulk is fully waterproof, very flexible, and durable in wet areas - the standard choice for showers and tubs. It's slightly harder to work with and requires a solvent for cleanup.
- Latex (acrylic) caulk is easier to apply and clean up with water, but may not hold up as well in continuous wet exposure over time.
- Sanded caulk is formulated to visually match sanded grout lines, which helps the finished surface look consistent.
~70%
Shower leaks traced to failed caulk joints
Industry tile installers commonly cite failed corner caulk - not grout - as the leading source of moisture intrusion behind shower walls.
1/8"
Joint width threshold for sanded vs. unsanded grout
The Tile Council of North America's Handbook for Ceramic, Glass, and Stone Tile Installation uses this measurement as the standard dividing line.
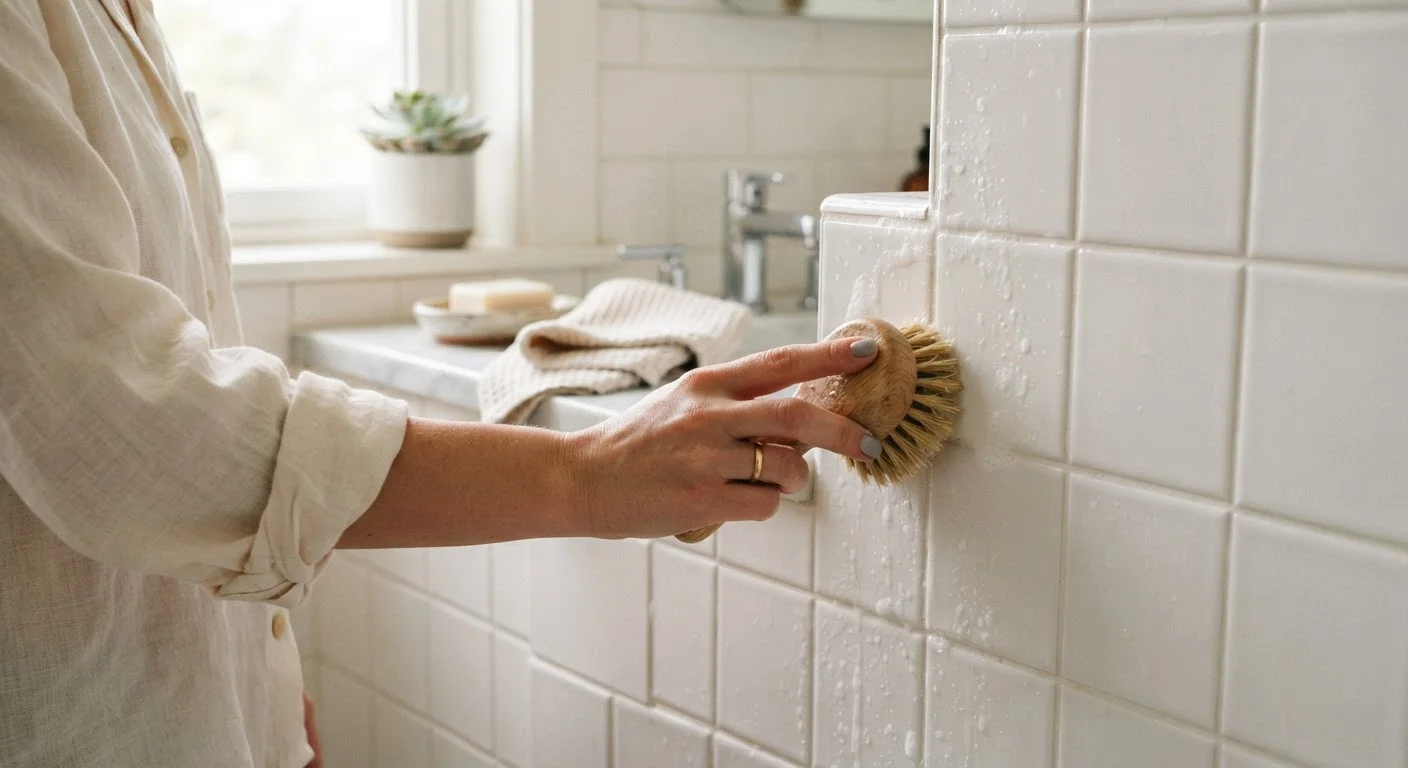
Once your grout is set, long-term maintenance matters just as much as initial application. Our guide on keeping grout clean and sealed covers the habits that extend a tile job's life significantly.
Application Tips for a Clean Finish
Proper prep is where most DIY caulking and grouting mistakes originate. Follow these steps for a result that actually lasts:
- Clean the surface thoroughly. Both materials need dry, debris-free joints. For re-caulking or re-grouting, remove all old material with a grout saw or oscillating tool before starting.
- Tape your edges. Painter's tape along each side of a caulk joint gives you a straight line and a clean peel. Remove the tape while the caulk is still wet.
- Mix grout to the right consistency. Follow the manufacturer's water-to-powder ratio. Grout that's too wet weakens; too dry won't spread evenly.
- Smooth caulk with a wet finger or tool. One smooth pass beats multiple strokes. A small cup of water nearby keeps things from sticking.
- Allow proper cure time before exposing to water. Grout typically needs 24-72 hours before water contact; caulk varies by product, so check the label.
A Note on Color Matching
Most caulk manufacturers offer colors formulated to match popular grout shades. When purchasing, bring a sample of your grout or its packaging to compare. Even a close match may look slightly different once cured, so test in an inconspicuous area first. A good color match makes the finished surface look intentional and seamless.