Why Grout Deserves More Attention Than It Gets
Grout is the mortar-based filler between your tiles, and it does two important jobs: it keeps tiles properly spaced and it acts as a partial barrier against moisture. The problem is that grout is porous - meaning it absorbs water, cleaning product residue, soap, and dirt over time. Left unprotected and uncleaned, it darkens, cracks, and eventually crumbles. At that point, you're looking at a costly retiling project rather than a $10 bottle of sealer.
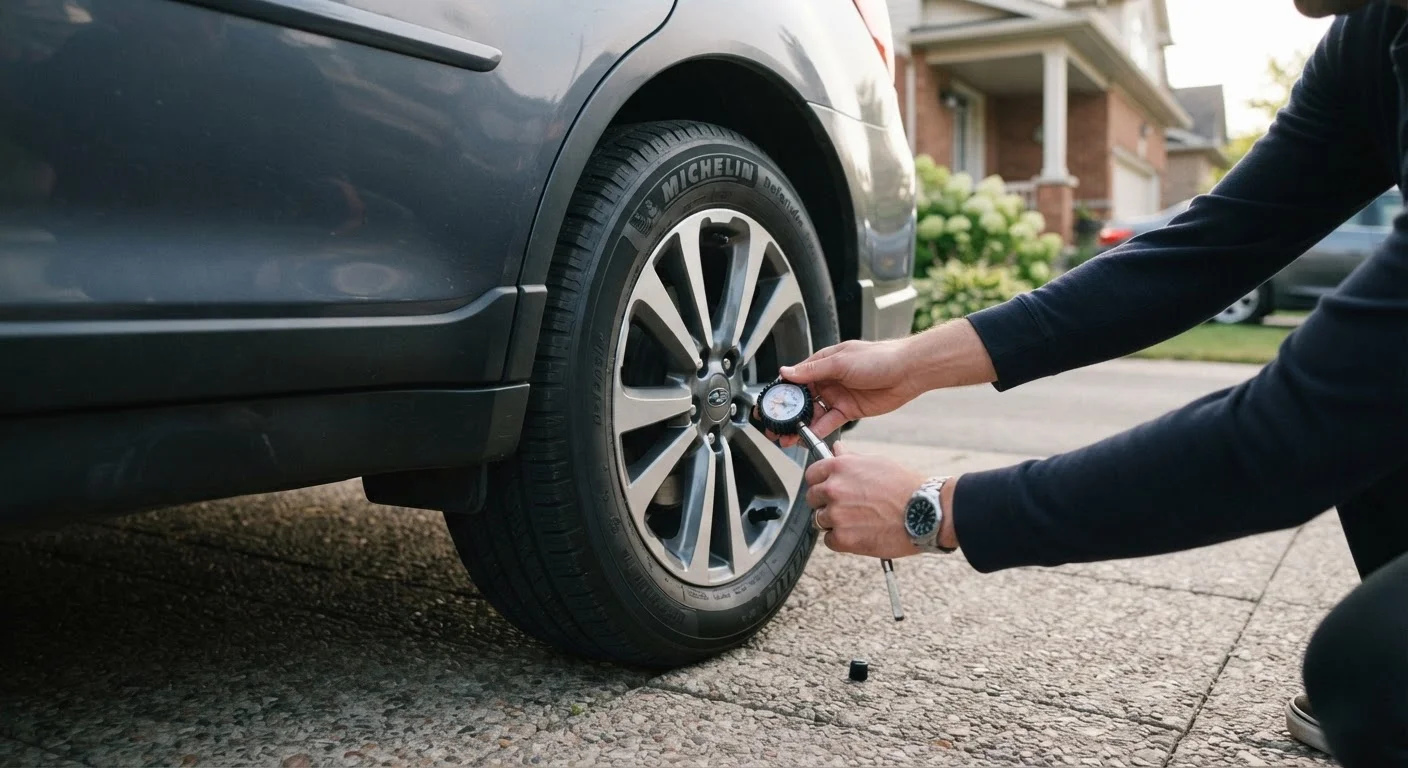
Think of grout the same way you might think about other routine upkeep around the home. Just as consistent small habits keep bigger problems at bay - whether you're maintaining a car or a garden - regular grout care is far cheaper and less disruptive than emergency repairs. The good news: the habits required are simple and take very little time once they're part of your routine.
Up to 10x
Cost difference: resealing vs. retiling
Industry estimates from tile contractors consistently show that retiling a bathroom can cost ten or more times what routine sealing and maintenance would have cost over the same period.
1-2 years
Recommended grout resealing interval
Tile industry guidelines generally recommend resealing standard cement-based grout every one to two years, depending on traffic and moisture exposure.
Core Practices for Long-Lasting Grout
The following practices form the foundation of any effective grout maintenance routine. Whether you're dealing with a bathroom shower, kitchen backsplash, or floor tiles, these approaches apply broadly.
Seal grout lines every one to two years using a penetrating grout sealer.
Unsealed grout absorbs water and staining agents almost immediately. A penetrating sealer soaks into the grout's pores and creates an internal barrier, dramatically slowing moisture infiltration and discoloration. Regular reapplication is necessary because sealers break down over time with cleaning and foot traffic.
Wipe down tiled surfaces after each use to remove excess moisture.
Standing water on grout encourages mold and mildew growth, especially in low-ventilation areas like showers. A quick wipe with a squeegee or microfiber cloth after each use removes the moisture before it has time to penetrate.
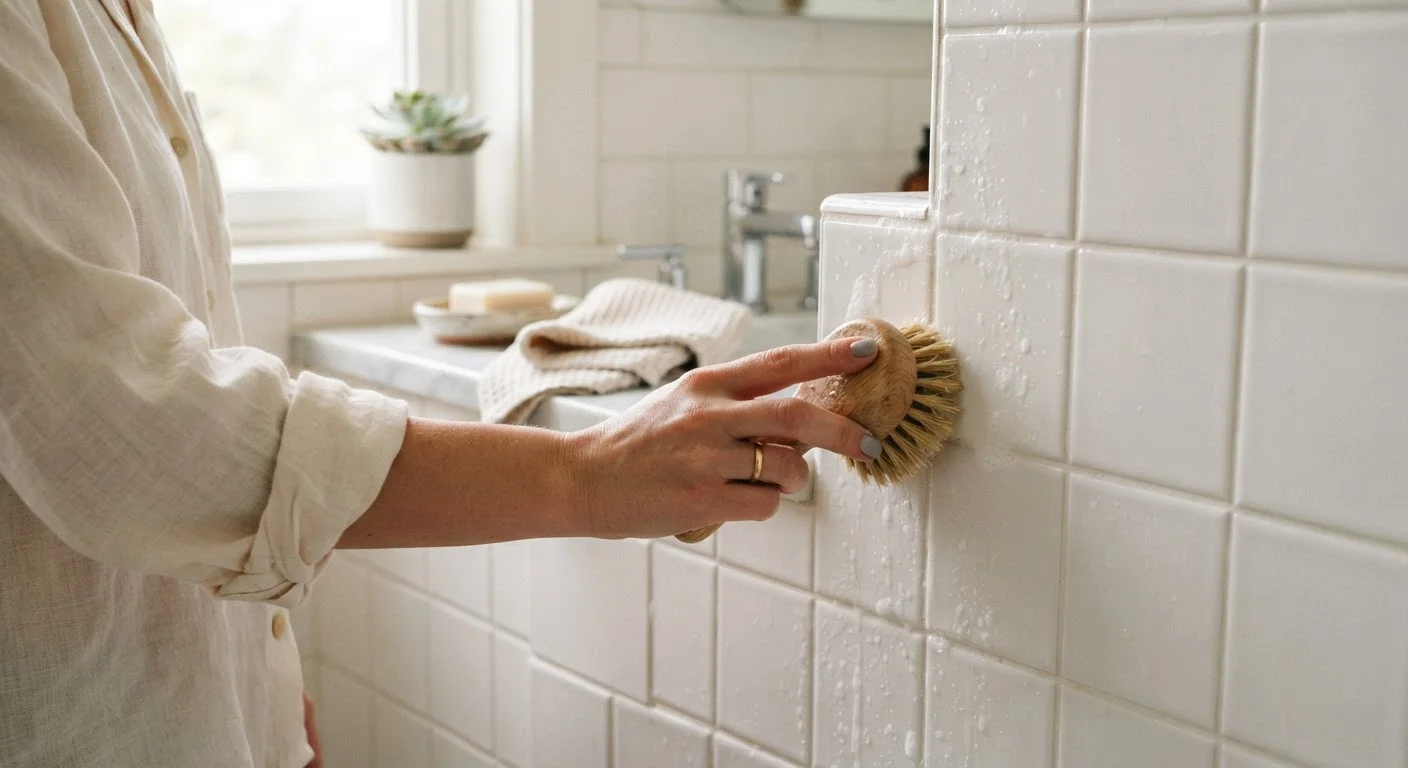
Clean grout weekly with a mild, pH-neutral cleaner and a stiff-bristled grout brush.
Soap scum, grease, and grime bond to porous grout surfaces quickly. A weekly scrub with a gentle cleaner prevents this buildup from hardening. Harsh bleach-based or acidic cleaners may remove stains in the short term but degrade grout material over time, shortening its lifespan.
Inspect grout lines every few months for cracks, gaps, or soft spots.
Small cracks are an entry point for water, which can migrate behind tiles and damage the substrate. Catching these early means a simple repair with fresh grout compound - a task most homeowners can handle - rather than full tile removal.
Ensure adequate ventilation in rooms with tiled surfaces.
High humidity is the primary driver of mold growth in grout. Bathroom exhaust fans and kitchen range hoods reduce ambient moisture, protecting not just grout but also wall paint, cabinetry, and structural wood.
Quick Actions You Can Take Today
You don't need to overhaul your entire cleaning routine at once. Even one or two of the actions below can make a meaningful difference in how long your grout stays clean and intact.
Match Your Cleaner to Your Grout Type
Epoxy grout (often used in high-moisture areas) is less porous and more stain-resistant than standard cement-based grout. It requires less frequent sealing but benefits from the same regular cleaning. Always confirm your grout type before choosing a cleaner or sealer - the product packaging will indicate compatibility.
When to Call in a Professional
Most grout maintenance is well within DIY territory. However, there are situations where calling a licensed tile contractor makes more sense than tackling the problem yourself.
- Widespread cracking or missing grout: If large sections are loose or missing, moisture may have already reached the substrate beneath - the layer that supports your tiles. Repairs here can involve waterproofing work that benefits from professional assessment.
- Mold that returns repeatedly: Persistent mold despite regular cleaning sometimes indicates a leak behind the wall or under the floor. A professional can identify the source rather than just treating the symptom.
- Cracked or loose tiles: When tiles themselves start to shift or crack, the underlying adhesive layer (called the tile mortar bed) may have failed. This is structural work that typically goes beyond routine maintenance.
Permits and Professional Standards
Major tile repair or replacement may require a building permit in some jurisdictions, particularly in wet areas like showers where waterproofing standards apply. If you're unsure whether your repair project triggers local code requirements, check with your municipal building department before beginning work. A licensed tile contractor can also advise on whether a repair meets current waterproofing standards for your area.
For everyday habits that build lasting results across your home - not just in the bathroom - consider how the same principle applies to other maintenance tasks. Just as the habits that keep a car in good shape involve small, consistent steps rather than reactive repairs, grout care rewards regularity over intensity.