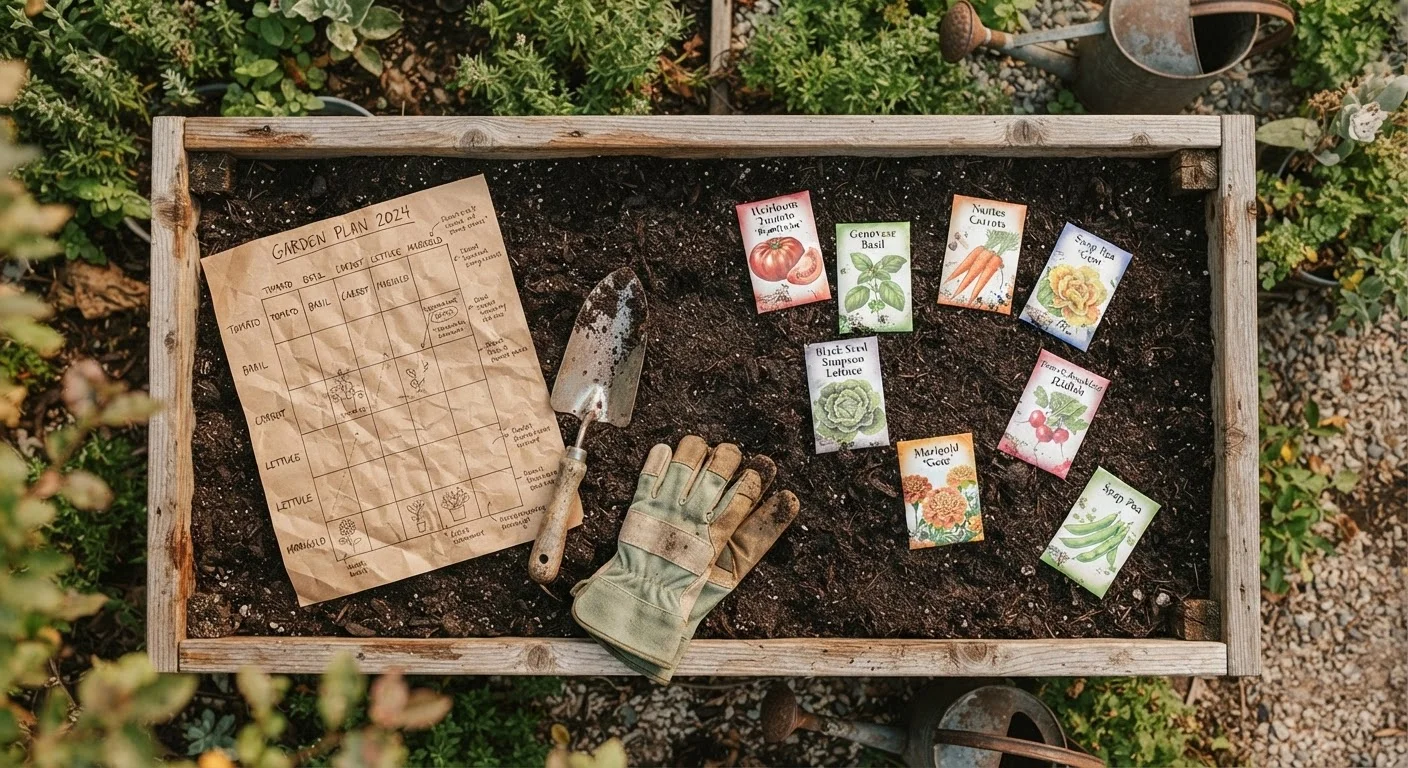
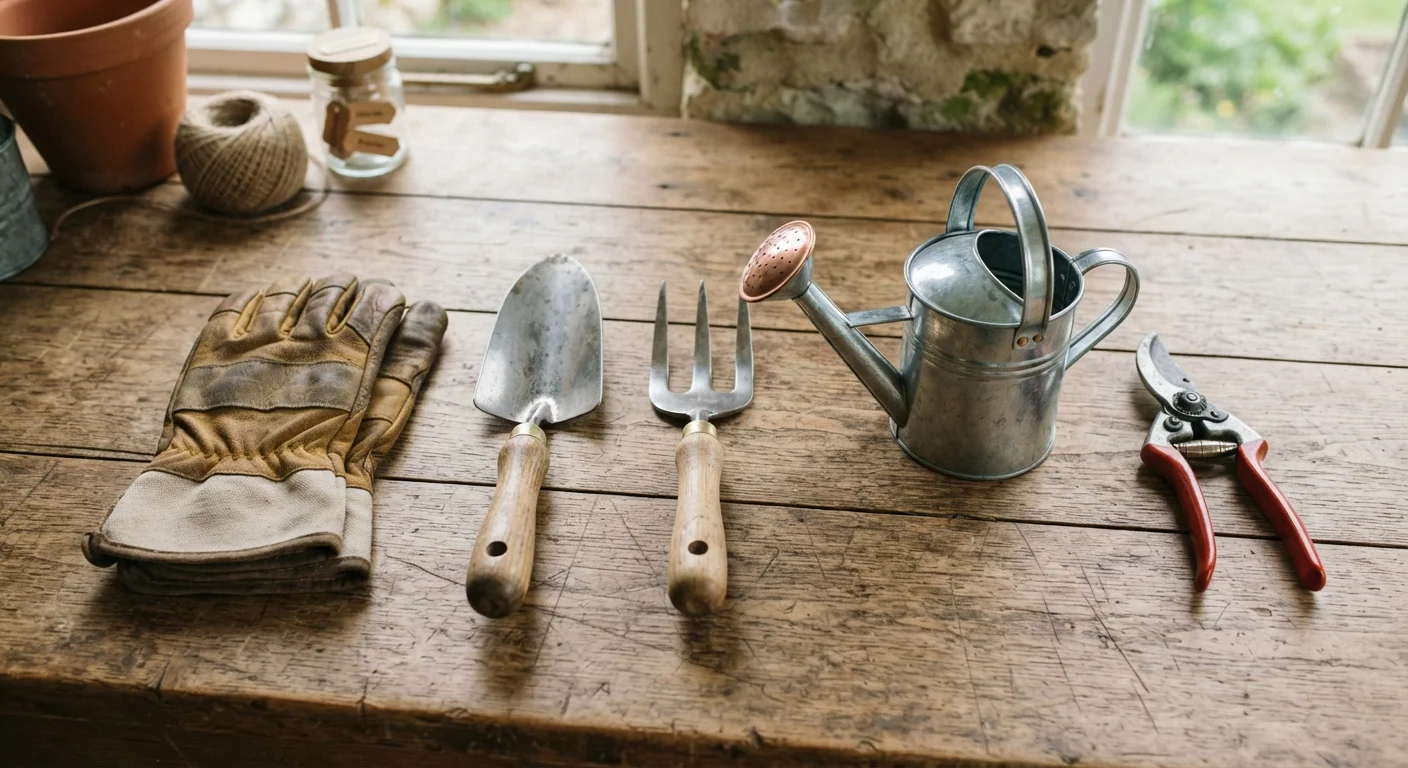
Work through this step-by-step checklist to make sure your soil, space, and timing are set before your first seed goes in the ground.
Key Takeaways
Testing your soil before planting helps you catch problems that no amount of watering or fertilizing can fix later.
Understanding your local frost dates and sun exposure prevents costly planting mistakes from the start.
Choosing plants suited to your specific conditions dramatically improves your odds of a productive first garden.
Having the right basic tools in place before you start saves time and frustration throughout the season.
A simple layout plan reduces overcrowding and competition between plants - two of the most common beginner mistakes.
Why Preparation Matters More Than the Plants You Pick
Most struggling gardens aren't the result of a bad green thumb - they're the result of skipped groundwork. Seeds planted into compacted, nutrient-poor soil, or set out before the last frost, rarely thrive no matter how faithfully you water them. This checklist walks you through every pre-planting step so you can go in with confidence rather than guesswork.
Before you dig a single hole, also check that your tools are ready to support you. Our guide to essential garden tools helps you focus only on what you genuinely need, so you're not overspending at the garden center.
Work through each group below in order. Check off items as you go - this checklist is designed to take 30 to 60 minutes spread across a weekend morning.
Know Your Site
Observe how many hours of direct sunlight your intended garden area receives on a typical clear day - most vegetables need at least 6 hours.Must
Check drainage by pouring a bucket of water on the soil surface and watching whether it absorbs within 30 minutes or pools and sits.Must
Note any trees, fences, or structures nearby that could block light or compete for water and nutrients through root systems.Should
Identify your USDA Plant Hardiness Zone using the official USDA zone map to understand which plants are suited to your climate.Must
Understand Your Timing
Look up your area's average last spring frost date - your local cooperative extension service or a reliable almanac resource can provide this.Must
Count backward from your frost date to determine the correct start dates for any seeds you plan to start indoors.Must
Check seed packet labels for 'days to maturity' to confirm your growing season is long enough for each variety you want to grow.Should
Test and Amend Your Soil
Purchase an inexpensive home soil test kit or send a sample to your local extension office to measure pH and basic nutrient levels.Must
Work 2-3 inches of compost into the top 8-10 inches of soil to improve both nutrient content and structure regardless of your starting conditions.Must
Add lime or sulfur to correct pH imbalances only after confirming your test results - amending without testing can worsen the problem.Should
Loosen compacted soil with a garden fork rather than repeatedly tilling, which can damage beneficial soil organisms over time.Should
Plan Your Layout
Sketch a simple top-down diagram of your growing space and mark where each plant type will go before purchasing any starts or seeds.Must
Follow spacing guidelines on seed packets and plant tags - crowding is one of the most common reasons beginner gardens underperform.Must
Group plants with similar water and sun needs together to make watering and care more efficient throughout the season.Should
Plan a path or kneeling access point so you can reach every part of the bed without stepping on the soil and compacting it.Nice to have
Gather Your Tools and Supplies
Confirm you have a hand trowel, garden fork, watering can or hose with an adjustable nozzle, and a pair of sturdy gloves before you start.Must
Lay in a supply of mulch - such as straw, wood chips, or shredded leaves - to apply after planting and reduce watering needs.Should
Set up a simple labeling system (craft sticks and a weatherproof marker work well) so you can track what is planted where.Nice to have
What to Do If You Uncover a Problem
It's normal to work through this checklist and discover your soil is too acidic, your drainage is poor, or your chosen spot gets less sun than you thought. These findings aren't failures - they're exactly what preparation is for.
Don't Skip the Soil Test
Planting into soil that's too acidic, too alkaline, or lacking key nutrients is one of the most common reasons first gardens disappoint. Visual inspection alone cannot reveal pH or nutrient deficiencies. Even if your soil looks dark and rich, a quick test before you plant can save you a full season of poor results and wasted effort.
Soil pH problems (the measure of how acidic or alkaline your soil is) are among the most fixable issues in gardening. Ground limestone raises pH for overly acidic soil; sulfur lowers it for soil that's too alkaline. Your local cooperative extension office - a publicly funded agricultural resource available in most US counties - can help you interpret a soil test and recommend amendments appropriate to your region.
If your site has serious drainage issues, consider building a raised bed rather than fighting your native soil. Raised beds filled with a blend of topsoil and compost give you near-complete control over growing conditions from day one.
Preparation also has a budgeting side. Buying amendments, containers, or tools upfront can add up. Our budgeting basics hub has practical strategies for planning seasonal expenses so your garden project doesn't strain your finances.
Required
Home Soil Test Kit
Measures soil pH and basic nutrient levels so you know exactly what amendments your garden needs before planting.
Required
Garden Fork
Loosens compacted soil and blends in compost without over-tilling, preserving beneficial soil structure.
Required
Compost or Aged Manure
Adds organic matter and nutrients to improve soil quality regardless of your starting conditions.
Required
Measuring Tape
Helps you plan accurate plant spacing so you avoid the crowding that limits yield and encourages disease.
Optional
Graph Paper or Sketch Pad
Used to draw a simple layout plan so you can visualize your garden before committing to plant placement.
Optional
Mulch (straw, wood chips, or shredded leaves)
Applied after planting to retain soil moisture, moderate temperature, and reduce weed pressure.
Home & Garden Editorial Team is the collective byline for our editorial team and contributor network. Articles published under this byline or an editorial pen name are researched, written, and reviewed according to our editorial standards for clarity, consistency, and independence before publication.
The content provided on our blog site traverses numerous categories, offering readers valuable and practical information. Readers can use the editorial team’s research and data to gain more insights into their topics of interest. However, they are requested not to treat the articles as conclusive. The website team cannot be held responsible for differences in data or inaccuracies found across other platforms. Please also note that the site might also miss out on various schemes and offers available that the readers may find more beneficial than the ones we cover.