Understanding What You're Working With
Drywall - also called gypsum board or wallboard - consists of a plaster-like gypsum core sandwiched between two layers of paper. It's durable enough for everyday use but vulnerable to impact, moisture, and fasteners left behind by pictures or shelving. Knowing what caused the damage helps you choose the right repair strategy and avoid repeating the problem.
Small nail and screw holes are the most common repairs homeowners face. Medium-sized holes often result from doorknobs, anchors pulled from walls, or accidental impacts. Larger gaps typically come from plumbing access, failed drywall anchors, or significant impacts. Each size calls for a different technique, but all repairs share the same finish sequence: compound, sand, prime, paint.
Check for Wires and Pipes First
Before cutting into any wall, confirm there are no electrical wires, plumbing pipes, or other utilities behind the drywall. Use a stud finder with AC detection or consult your home's blueprints. Cutting into a live wire is a serious safety hazard - if you're uncertain, consult a licensed electrician or plumber before proceeding.
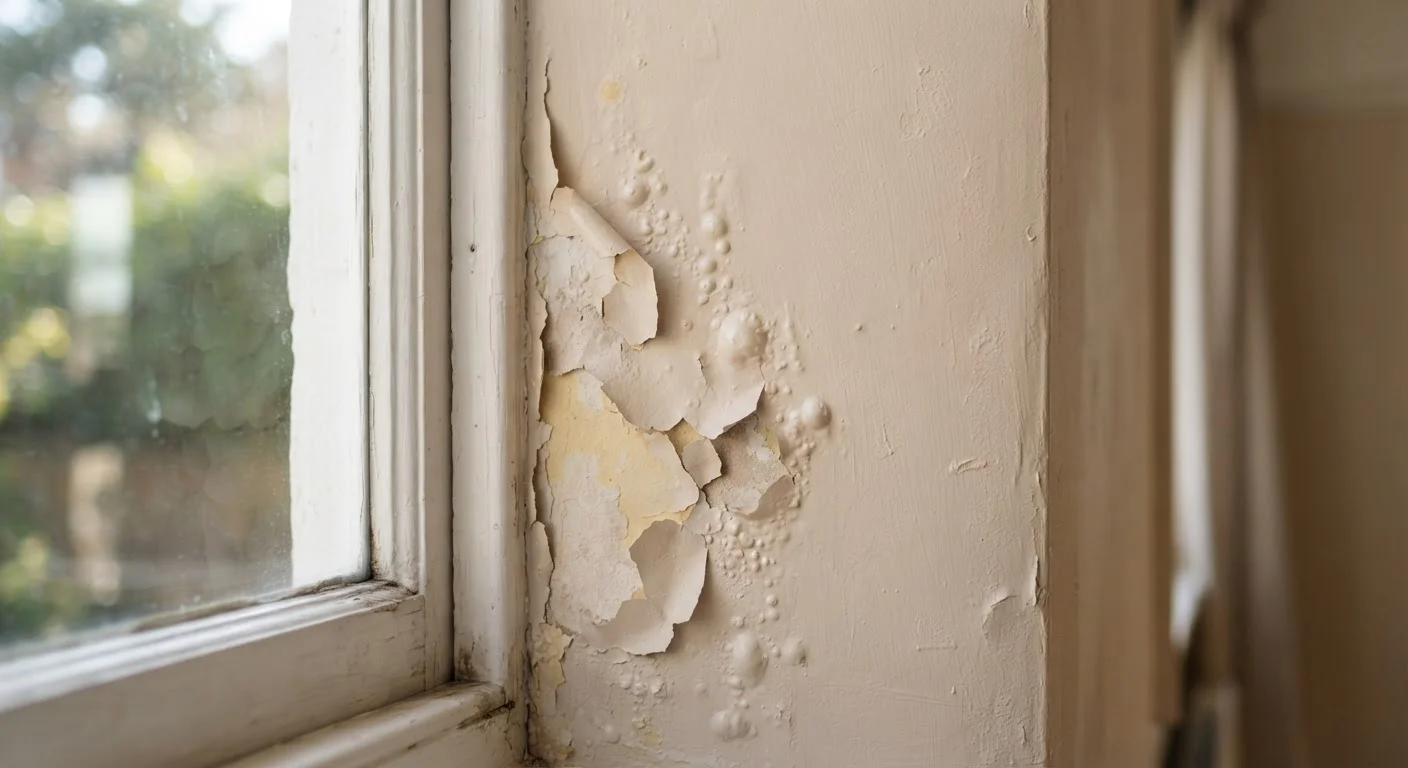
Before gathering your materials, check whether the damage is near a moisture source such as a bathroom or exterior wall. Soft, discolored, or mold-spotted drywall may indicate a leak that needs professional attention before any cosmetic repair begins.
Tools and Materials You'll Need
Most drywall repairs don't require specialized equipment - a handful of common items covers almost every scenario. The list below scales with the size of your repair; start with the basics and add from there based on your assessment in Step 1.
Spackle or lightweight joint compound
Fills holes and creates a smooth surface for painting.
Putty knife or drywall knife (6-12 inch)
Applies and spreads compound evenly across the repair area.
Sandpaper (120- and 220-grit)
Smooths dried compound flush with the surrounding wall surface.
Drywall patch kit or mesh patch
Provides structural backing for medium-sized holes that spackle alone cannot bridge.
Drywall backer board or wooden cleat
Anchors new drywall piece inside the wall for large, fist-sized repairs.
Drywall screws and drill
Secures new drywall patch to backer boards inside the wall cavity.
Primer
Seals the patched area so finish paint adheres evenly without flashing.
What you will need
Step-by-Step Repair Instructions
Follow these steps in order regardless of hole size. The method adjusts at Step 3, but every other stage - preparation, compounding, sanding, priming - applies to repairs of all sizes. Take your time at each stage; rushing drywall work creates more rework than it saves.
Assess the damage and choose your method
Measure the hole or damaged area. Use this guide to choose the right repair approach:
- Up to ½ inch (nail holes, small dents): Spackle or lightweight joint compound alone.
- ½ inch to 4 inches: Self-adhesive mesh patch plus joint compound.
- 4 inches to about 6 inches (fist-sized): Cut-out-and-replace method with a backer board.
Prepare the damaged area
Use a putty knife to scrape away any loose paper, crumbled gypsum, or old paint flaking around the edges of the hole. Wipe the area clean with a dry cloth. For the cut-out method, use a drywall saw or utility knife to create a clean, square or rectangular opening - clean edges give you a much better surface to work with.
Apply your patch or backing
For mesh patches: Peel and stick the self-adhesive mesh patch centered over the hole. Press it firmly so all edges adhere.
For cut-out repairs: Cut a piece of wood (a 1×3 or 1×4 works well) about 4 inches longer than the hole's height. Slide it into the opening, hold it flush against the back of the drywall, and drive drywall screws through the face of the existing drywall into both ends of the backer. Cut a drywall piece to fit snugly in the opening and screw it to the backer.
Apply the first coat of joint compound
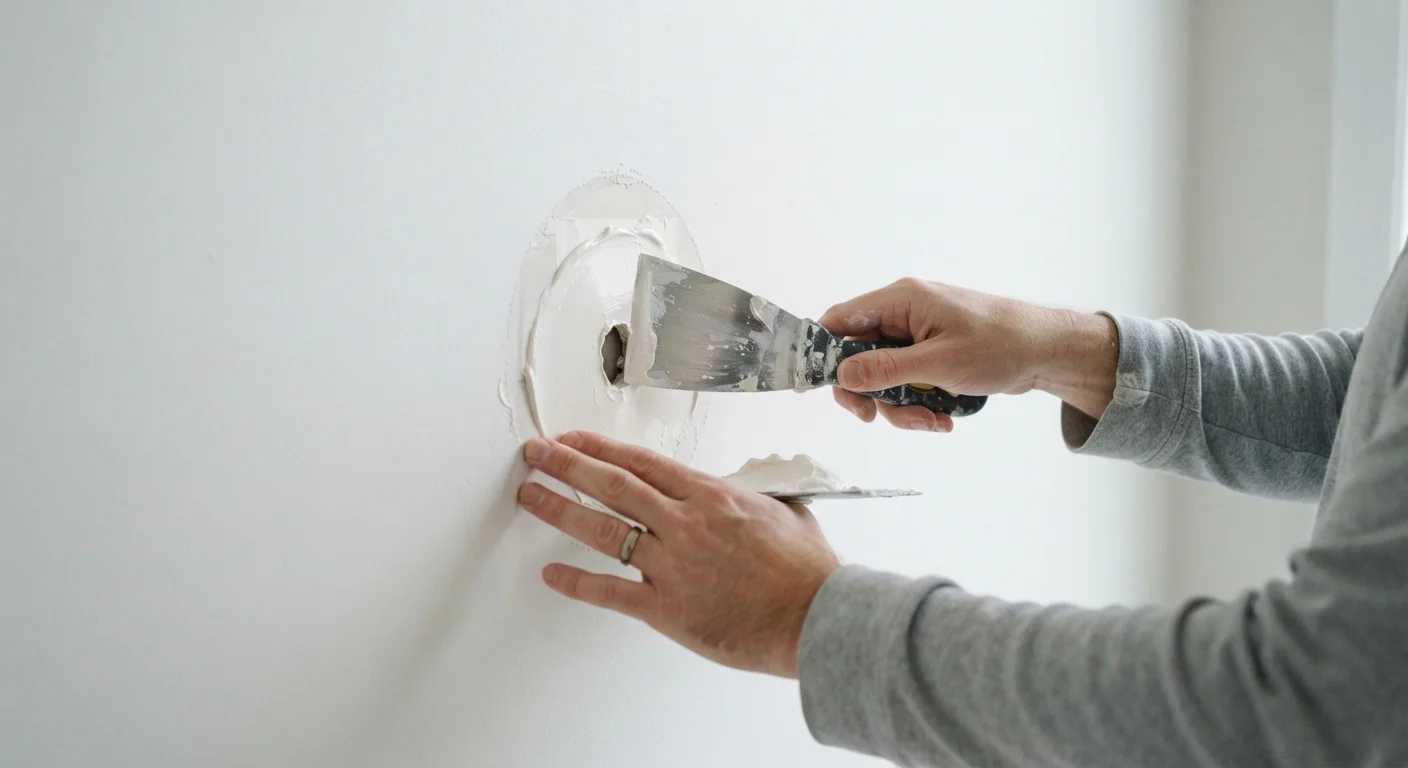
Using your putty or drywall knife, spread a thin, even layer of joint compound over the patch and its surrounding edges. For mesh patches, work the compound firmly into the mesh fibers. Feather the edges outward so there's no hard ridge. Let this first coat dry completely - check the color and firmness before moving on.
Sand, apply additional coats, and sand again
Once dry, sand lightly with 120-grit sandpaper to knock down ridges, then wipe away dust with a dry cloth. Apply a second thin coat, feathering it even wider than the first. Most patches need two to three coats total. After the final coat dries, finish with 220-grit sandpaper until the surface feels perfectly flush and smooth to the touch.
Prime and paint for a seamless finish
Apply a coat of drywall primer over the entire patched area before painting. Primer seals the porous compound so your paint absorbs evenly - skipping this step often results in a dull, flat-looking spot called flashing, even when colors match perfectly. Once primer is dry, apply your finish paint to blend the repair into the rest of the wall.
Feather Your Edges for a Smooth Result
When spreading joint compound, gradually thin the edges outward - a technique called feathering - so the patch blends invisibly into the surrounding wall. A 6-inch drywall knife works well for small repairs; for larger patches, step up to a 10- or 12-inch blade. The broader the knife, the smoother and flatter the finish will be.
Don't Rush the Drying Process
Joint compound that isn't fully dry will shrink and crack as it cures, ruining your smooth finish. Wait until each coat looks completely white and feels firm - not cool and slightly translucent, which signals remaining moisture. In humid conditions this can take 24 hours or more per coat.
Getting a Paint-Ready Finish
The gap between a patched wall and a truly seamless wall usually comes down to what happens after the compound dries. Thorough sanding, careful priming, and matched paint application are what separate visible repairs from invisible ones. For a deeper look at why paint sometimes fails even on properly prepared surfaces, see our guide to common paint failures.
If your walls have a texture - such as orange peel or knockdown - you'll need to recreate it over your smooth patch before painting. Texture sprays and stomp brushes are widely available and can approximate most common wall textures, though matching an existing texture precisely takes some practice. When in doubt, test your technique on a piece of scrap drywall first.