The Real Reason Paint Fails
A fresh coat of paint seems simple enough - open the can, grab a roller, and go. Yet peeling edges, stubborn streaks, and bubbling surfaces are frustratingly common, especially for first-time DIYers. The good news: the vast majority of paint failures are caused by a small set of predictable, avoidable mistakes.
Understanding why paint fails gives you far more confidence than any brand recommendation ever could. Whether you're refreshing a bedroom wall or tackling a bathroom ceiling, the principles below apply to nearly every interior paint project. If you're still deciding whether to DIY at all, our honest look at DIY trade-offs is worth reading first.
Skipping surface cleaning and preparation before painting.
Why it happens: Preparation feels tedious, and freshly painted walls look fine at first - so beginners often assume it's unnecessary. The failure only shows up weeks later.
Painting in conditions that are too hot, cold, or humid.
Why it happens: Most people paint when it's convenient rather than when conditions are ideal, not realizing that temperature and humidity directly affect how paint cures.
Omitting primer or using the wrong type for the surface.
Why it happens: Primer seems like an extra, optional purchase. Many beginners assume modern paint-and-primer-in-one products eliminate the need for a dedicated primer coat entirely.
Applying too-thick coats to finish faster.
Why it happens: Thicker paint looks more opaque in the moment, creating the illusion of better coverage. Beginners load up rollers and brushes to avoid doing a second coat.
Choosing the wrong paint sheen for the room or surface.
Why it happens: Sheen levels - flat, eggshell, satin, semi-gloss - can feel like marketing categories rather than functional choices, so many beginners pick whatever is on sale.
Building Better Painting Habits
Correcting these mistakes doesn't require expensive tools or professional training - it mainly requires patience and the right sequence of steps. Preparation consistently accounts for roughly 80% of a successful paint job; the actual rolling and brushing is the easier part.
~80%
Of paint job quality attributed to preparation
Professional painters widely cite surface preparation as the dominant factor in paint durability and appearance, outweighing paint brand or application technique.
50°F-90°F
Recommended temperature range for latex paint application
Most latex paint manufacturers specify this range on product labels to ensure proper curing and adhesion.
Before buying supplies, assess your surface honestly. Look for cracks, stains, moisture damage, or quality red flags that could undermine even the best technique. Patch holes, clean grime, sand rough spots, and let everything dry fully. Then choose a primer matched to your surface type - drywall, wood, and previously painted walls each have different needs. Finally, respect the drying times printed on your paint can; they exist for good reason.
Moisture Problems Need More Than Paint
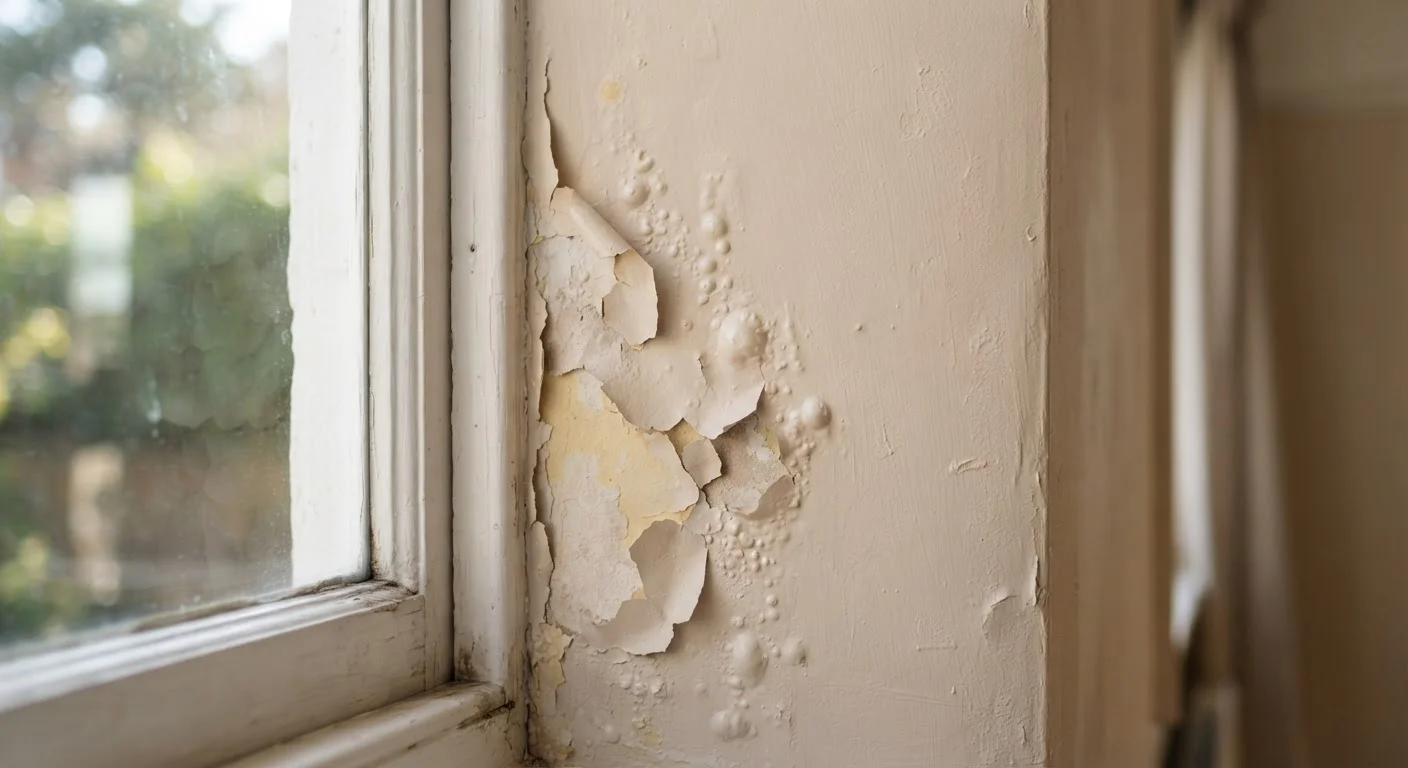
If you notice bubbling paint on a bathroom ceiling or near exterior walls, paint alone won't fix the issue. Bubbling is often a sign of trapped moisture or an active leak. Painting over the symptom without addressing the source will cause the new coat to fail just as quickly. Identify and resolve the moisture source - and consult a professional if you suspect structural water intrusion - before repainting.
Approach your next paint project as a process, not a shortcut, and the results will speak for themselves.