Why Small Fixes Matter More in Older Homes
Older homes carry a lot of charm - solid craftsmanship, mature landscaping, established neighborhoods. But they also accumulate small deficiencies over time: gaps that let in cold air, fixtures that no longer function safely, surfaces worn past the point of looking their best. The good news is that you don't need a major renovation budget to meaningfully improve how your home feels, functions, and holds up over time.
The eight upgrades below are specifically chosen because they deliver noticeable results without requiring permits, licensed contractors, or advanced skills. Most can be completed in an afternoon. For a broader view of keeping an older home in good shape year-round, see our room-by-room home maintenance schedule.
Start With a Walk-Through
Before buying any materials, do a slow walk through every room with a notepad and make a list of things that feel drafty, look worn, or function poorly. Prioritizing by impact - safety first, then comfort, then aesthetics - helps you tackle upgrades in an order that makes sense rather than jumping between projects. A focused list also prevents overspending at the hardware store.
Eight Upgrades Worth Doing
Replace Weatherstripping on Exterior Doors
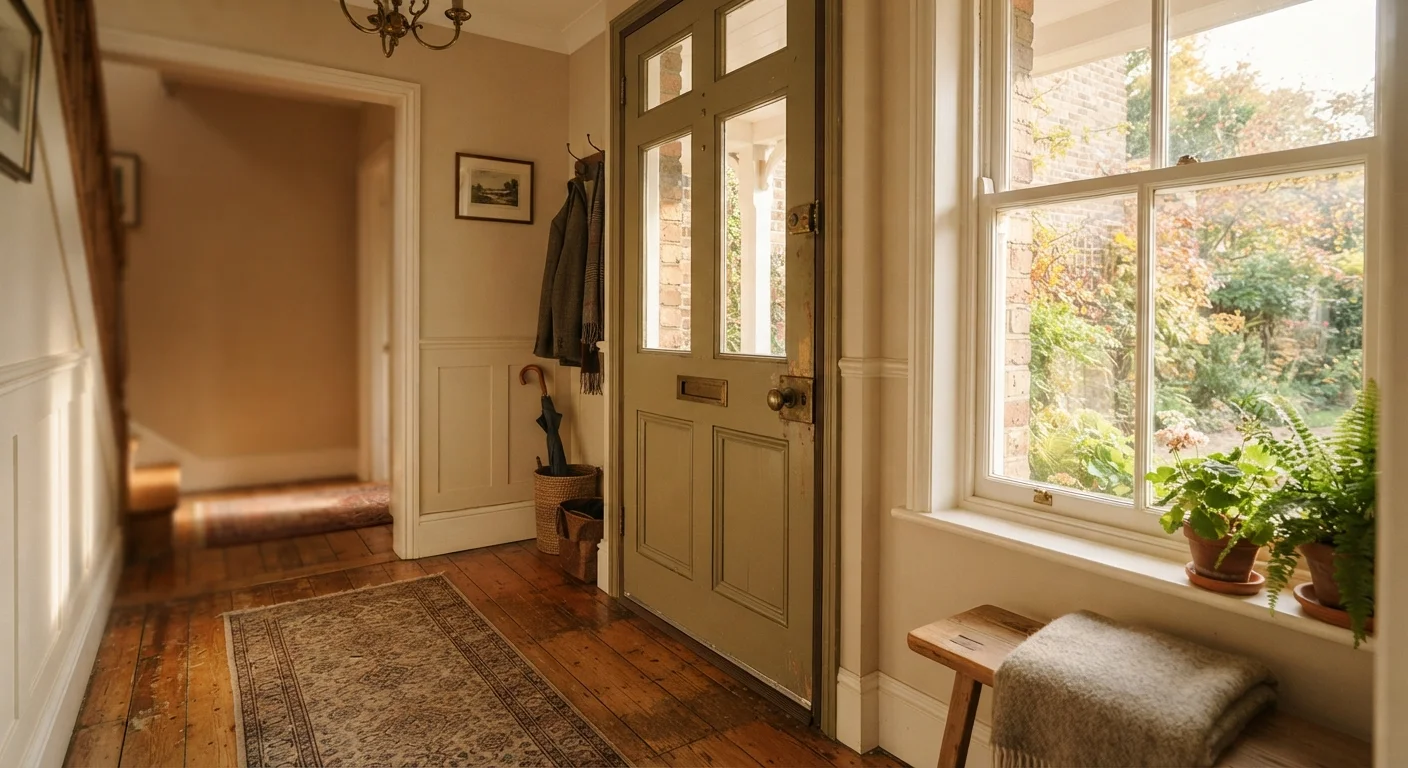
Weatherstripping - the flexible seal that runs around door frames - compresses and cracks over years of use. When it fails, conditioned air escapes and outside air infiltrates, making your heating and cooling systems work harder. Peel-and-stick foam or V-strip weatherstripping is sold by the foot at most hardware stores and installs with no special tools. Clean the door frame, cut strips to length, and press them into place. The whole job typically takes under 30 minutes per door.
Pair this with a door sweep on the bottom gap - a simple metal strip with a rubber blade that seals the space between door and threshold. Both materials are inexpensive and the difference is noticeable immediately, especially in winter.
Failed weatherstripping is one of the easiest air-leak fixes in any older home.
Upgrade to GFCI Outlets in Wet Areas
Ground Fault Circuit Interrupter (GFCI) outlets - the ones with the small TEST and RESET buttons - detect sudden changes in electrical current and cut power instantly to prevent shock. Modern building codes require them in kitchens, bathrooms, garages, and outdoor areas, but homes built before the 1970s often lack them entirely.
Replacing a standard outlet with a GFCI outlet is a straightforward task if you are comfortable working with basic wiring: turn off the circuit breaker, swap the outlet, restore power. However, if your home has older wiring types (aluminum wiring, for instance) or you are not confident with electrical work, this is worth hiring a licensed electrician for. The cost is low and the safety benefit is significant.
GFCI outlets are a non-negotiable safety upgrade in any kitchen or bathroom.
Recaulk Windows, Tubs, and Sinks
Caulk is the flexible sealant that bridges small gaps between fixed surfaces - around window frames, between a tub and tile wall, around a sink basin. Over time it shrinks, cracks, and can harbor mold. Removing old caulk with a plastic scraper and applying a fresh bead takes about an hour per area and costs only a few dollars in materials.
Use paintable latex caulk around windows and silicone caulk in wet areas like tubs and sinks, as silicone is mold-resistant and stays flexible through temperature changes. Smooth the bead with a wet fingertip before it dries. This single task prevents water from seeping into walls and subflooring - damage that is far more expensive to fix later. For more on where insulation gaps compound moisture issues, see our insulation myths guide.
Fresh caulk is one of the most cost-effective moisture barriers you can apply yourself.
Swap Out Cabinet Hardware
Drawer pulls and cabinet knobs are purely decorative fasteners - swapping them requires only a screwdriver. Yet dated or mismatched hardware is one of the first things visitors notice in a kitchen or bathroom, and replacing it transforms the look of cabinetry without paint or new doors. Measure the existing screw hole spacing (called the center-to-center measurement) before purchasing replacements to ensure they fit without drilling new holes. Brushed nickel, matte black, and oil-rubbed bronze are durable finishes that suit a range of home styles.
New cabinet hardware delivers a surprisingly dramatic visual update for minimal cost and effort.
Install Low-Flow Aerators on Faucets
Faucet aerators are the small mesh screens that screw onto the tip of a faucet spout. They mix air into the water stream, maintaining pressure while reducing actual water flow. Aerators in older homes are frequently clogged with mineral deposits or simply missing. Replacing them with low-flow aerators (rated at 1.0-1.5 gallons per minute for bathroom faucets, slightly higher for kitchen) is a twist-on installation that takes about two minutes and costs under five dollars per fixture.
This is a straightforward way to reduce water use without any noticeable difference in daily function - water still feels strong at the tap. Saving money at home often comes down to exactly these kinds of low-effort, long-term reductions.
Aerators cut water use noticeably without any reduction in perceived faucet pressure.
Replace Outlet Covers and Switch Plates
Over decades, plastic outlet covers and switch plates yellow, crack, and accumulate a film of paint overspray or grime that no amount of cleaning fully removes. A full set of replacement covers for an average home costs well under fifty dollars. Turn off the relevant circuit or simply work carefully - you're replacing the cover plate only, not touching any wiring. A single screwdriver is all you need.
Choose a consistent finish throughout each room for a polished look. White, almond, and ivory are standard; screwless decorator plates (which use a snap-on outer frame) offer a cleaner, more modern profile if you want to step up slightly from standard hardware-store covers.
Fresh outlet covers take minutes to install and visibly modernize a room at almost no cost.
Add Insulation to the Attic Hatch
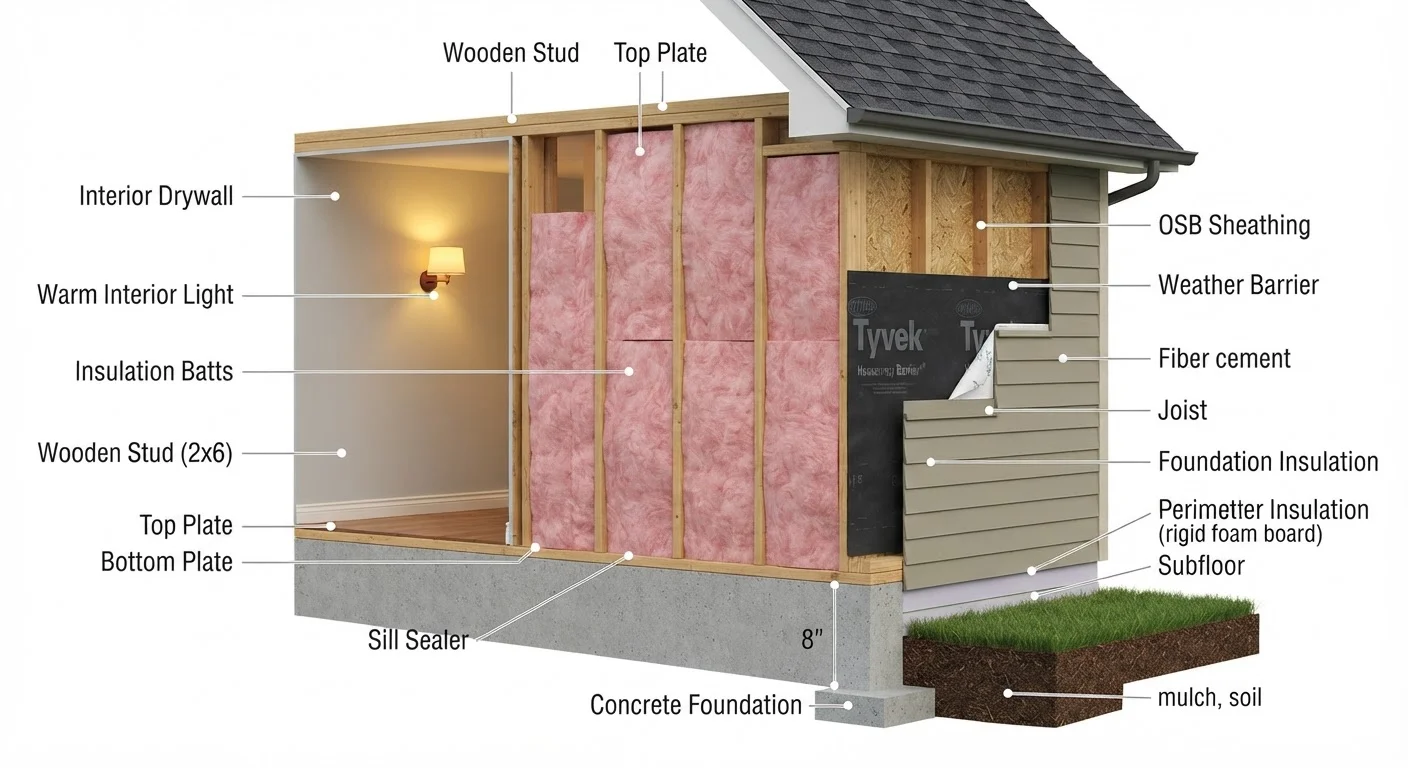
The attic access hatch - usually a simple drywall panel set into a ceiling frame - is one of the most overlooked heat-loss points in older homes. Unlike the attic floor around it, the hatch itself typically has no insulation and no weatherstripping, creating a direct path for conditioned air to escape into unconditioned attic space. A DIY fix involves attaching rigid foam insulation board to the attic-side surface of the hatch panel and adding adhesive weatherstripping foam around the frame's lip. Total material cost is generally under twenty dollars.
This small project can make a noticeable difference in upstairs rooms that feel drafty or hard to keep warm, since heat rises and exits readily through an unsealed hatch.
An uninsulated attic hatch is a surprisingly large heat-loss point that's easy to seal.
Upgrade Showerheads to WaterSense-Labeled Models
WaterSense is a voluntary labeling program administered by the U.S. Environmental Protection Agency (EPA) that identifies water-efficient products meeting specific performance criteria. A WaterSense-labeled showerhead uses no more than 2.0 gallons per minute - older showerheads often run at 2.5 gallons per minute or higher. Replacing a showerhead requires only an adjustable wrench and plumber's tape (also called PTFE tape); wrap the tape around the threaded pipe stub, hand-tighten the new head, then snug it with the wrench. Over months of daily showers, the reduction in hot water demand adds up.
A WaterSense showerhead is a ten-minute swap that reduces hot water use over the long term.
Permits and Electrical Work
Most of the upgrades in this list are cosmetic or maintenance-grade and do not require permits. The exception is electrical work: GFCI outlet replacement is minor, but any project that involves adding new circuits, moving wiring, or upgrading your electrical panel requires permits and a licensed electrician in most U.S. jurisdictions. When in doubt, check with your local building department before starting.
Know When to Call a Professional
The projects on this list are intentionally beginner-friendly. But older homes sometimes reveal larger issues once you start looking closely - knob-and-tube wiring, galvanized pipes, or failing subfloors, for example. If a small fix uncovers something that looks structural, electrical, or related to gas lines, stop and consult a licensed contractor. Our guide to DIY trade-offs walks through exactly where that line sits. Done right, these small improvements compound: each one reduces wear, saves energy, or adds safety - and together they can make an older home feel genuinely refreshed without a single wall coming down.