Why Composting Is Worth the Small Effort
Compost is decomposed organic matter - essentially nature's own recycling system. When you add finished compost to your garden beds, you're improving soil structure, feeding beneficial microbes, and helping the soil hold moisture more efficiently. Plants grown in compost-enriched soil typically show stronger root development and better resilience to stress.
Beyond the garden benefits, composting diverts a meaningful portion of household waste from the trash. The US Environmental Protection Agency has estimated that food scraps and yard waste together make up a large share of what ends up in landfills - where organic material breaks down without oxygen and produces methane, a potent greenhouse gas. Composting at home is one of the simplest ways an individual household can reduce that impact.
If you're just beginning to think about your garden's foundation, our beginner's guide to soil, sun, and water is a good starting point before you dig in.
Compost bin or container
Holds your compost pile in one place, retains moisture, and deters pests.
Pitchfork or garden fork
Used to turn and aerate the pile, which speeds up decomposition.
Kitchen scrap collector (small lidded bin)
Collects vegetable peels, coffee grounds, and other compostable scraps at the counter before transfer to the main bin.
Garden hose or watering can
Used to moisten the pile when it becomes too dry.
Thermometer (compost or soil type)
Helps confirm that the pile is heating up and actively decomposing.
Setting Up and Running Your Compost System
Follow the steps below to get your first compost pile started. Most beginners are surprised by how low-maintenance the process becomes once the pile is established - the main commitment is adding materials in roughly the right balance and turning the pile regularly.
What you will need
Choose and position your compost bin
Select a spot that gets partial shade - full sun dries the pile out too quickly, while dense shade slows decomposition. Aim for a level area with good drainage, ideally directly on bare soil so worms and beneficial microbes can enter naturally from the ground.
You can purchase a plastic compost tumbler, build a simple three-sided wooden bin from untreated lumber, or repurpose a large plastic storage bin with holes drilled into the sides and bottom for airflow. A bin measuring roughly 3 feet × 3 feet is a practical starting size for most households.
Understand the 'browns and greens' balance
Successful compost depends on mixing two types of material:
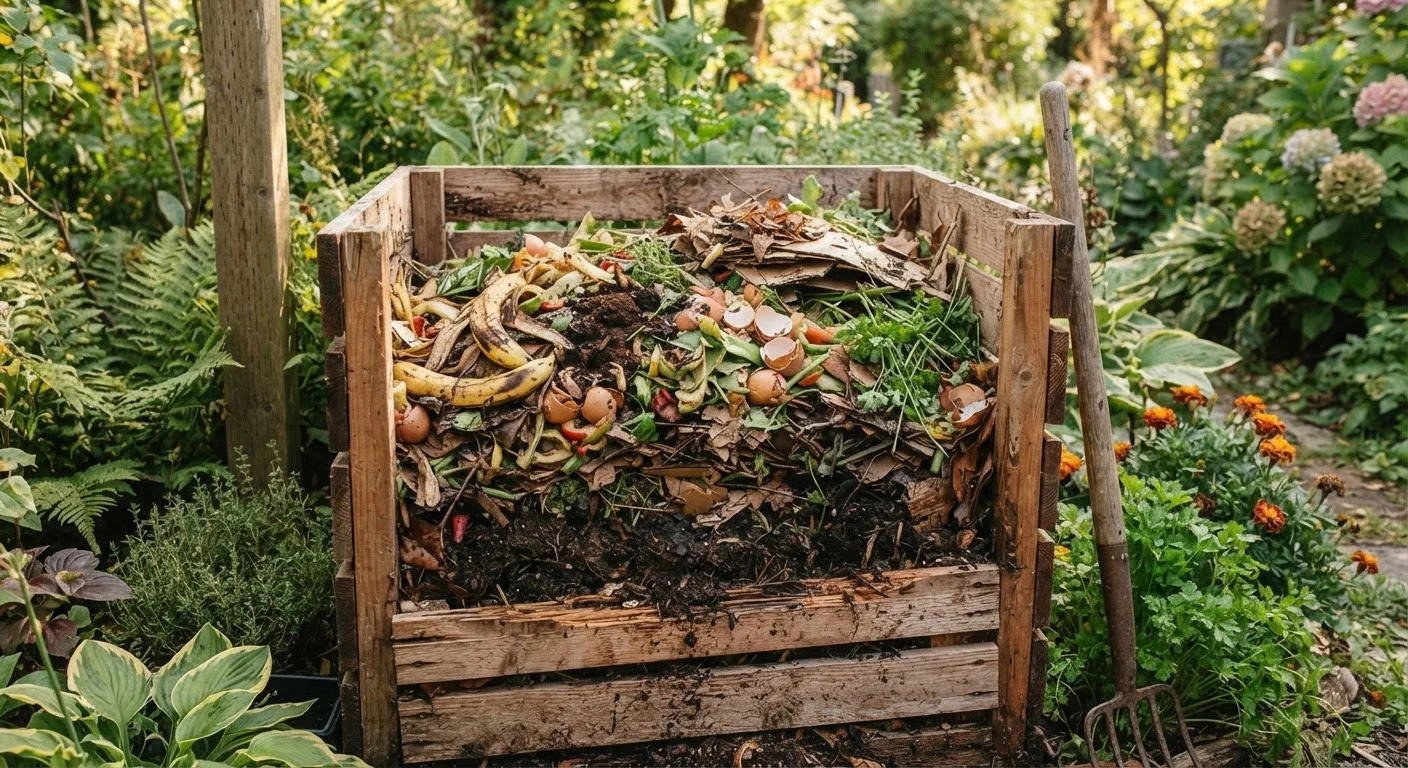
- Browns (carbon-rich): Dry leaves, cardboard torn into small pieces, newspaper, straw, paper bags, and wood chips. These provide carbon and create air pockets.
- Greens (nitrogen-rich): Vegetable and fruit scraps, coffee grounds, tea bags, fresh grass clippings, and plant trimmings. These supply nitrogen and moisture.
A rough guideline is two to three parts browns for every one part greens by volume. Too many greens and the pile gets slimy and smelly; too many browns and it becomes dry and stalls.
Start layering your pile
Begin with a 4-6 inch layer of coarse browns at the base (wood chips or straw work well here) to allow airflow from the bottom. Add a layer of greens on top, then cover with another layer of browns. Think of it like lasagna - alternating layers help the pile stay balanced from the start.
Lightly moisten each layer as you build if the materials feel very dry. The pile should feel damp like a wrung-out sponge, not soggy.
Know what to keep out
Some materials harm your compost or attract pests. Avoid adding:
- Meat, fish, and bones
- Dairy products and eggs (shells are fine)
- Oily or greasy foods
- Pet waste or cat litter
- Diseased plant material
- Weeds that have gone to seed
- Treated or painted wood
These items either take far too long to break down, introduce pathogens, or draw rodents and other unwanted visitors to your bin.
Turn and maintain the pile
Every one to two weeks, use your pitchfork to turn the pile - move material from the outer edges toward the center, where temperatures are highest. This reintroduces oxygen, which microbes need to break material down efficiently.
Check moisture at the same time. If the pile is dry, water it lightly. If it smells bad, add more browns and turn more frequently.
Recognize when compost is ready to use
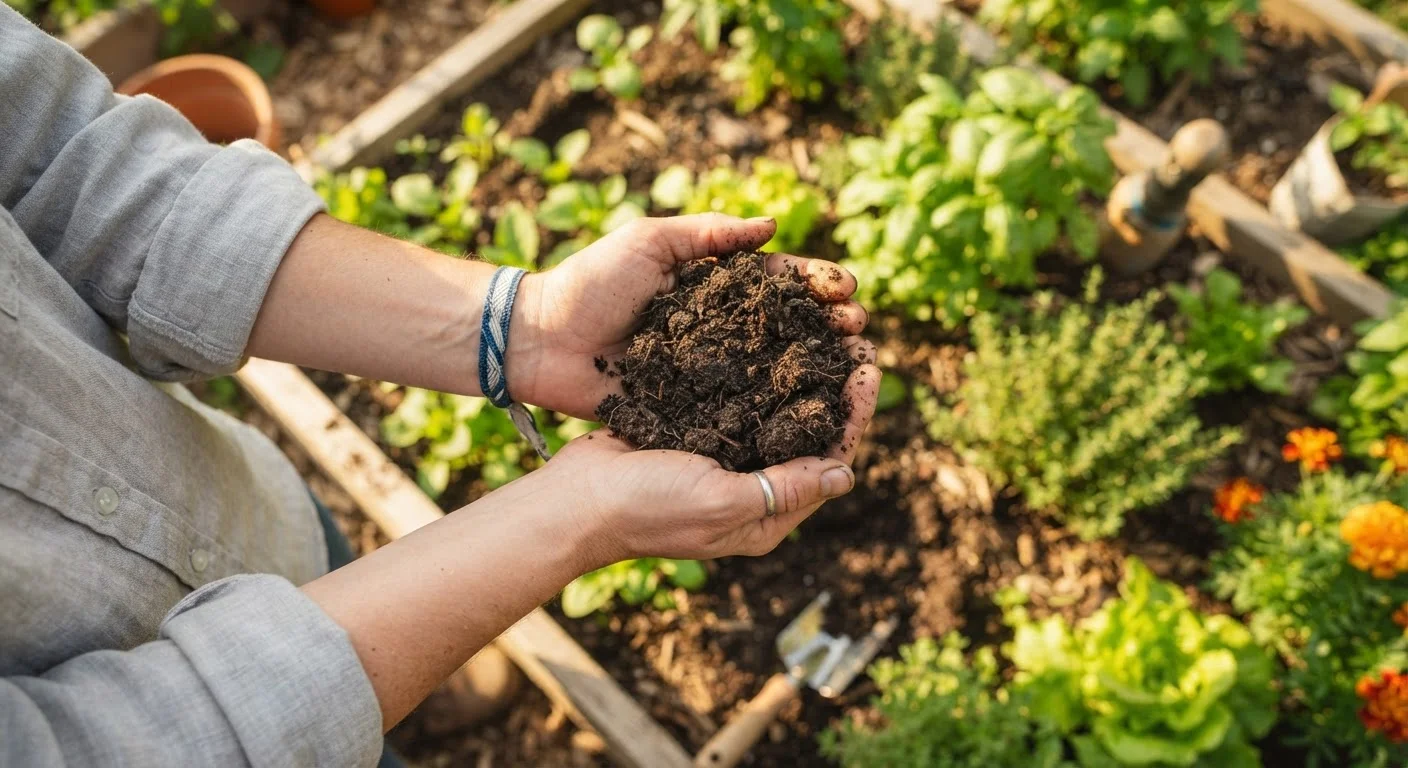
Finished compost looks like dark, rich, crumbly soil and smells earthy - similar to a forest floor after rain. You should no longer be able to identify the original materials. This process typically takes two to six months depending on how often you turn the pile, your climate, and the materials used.
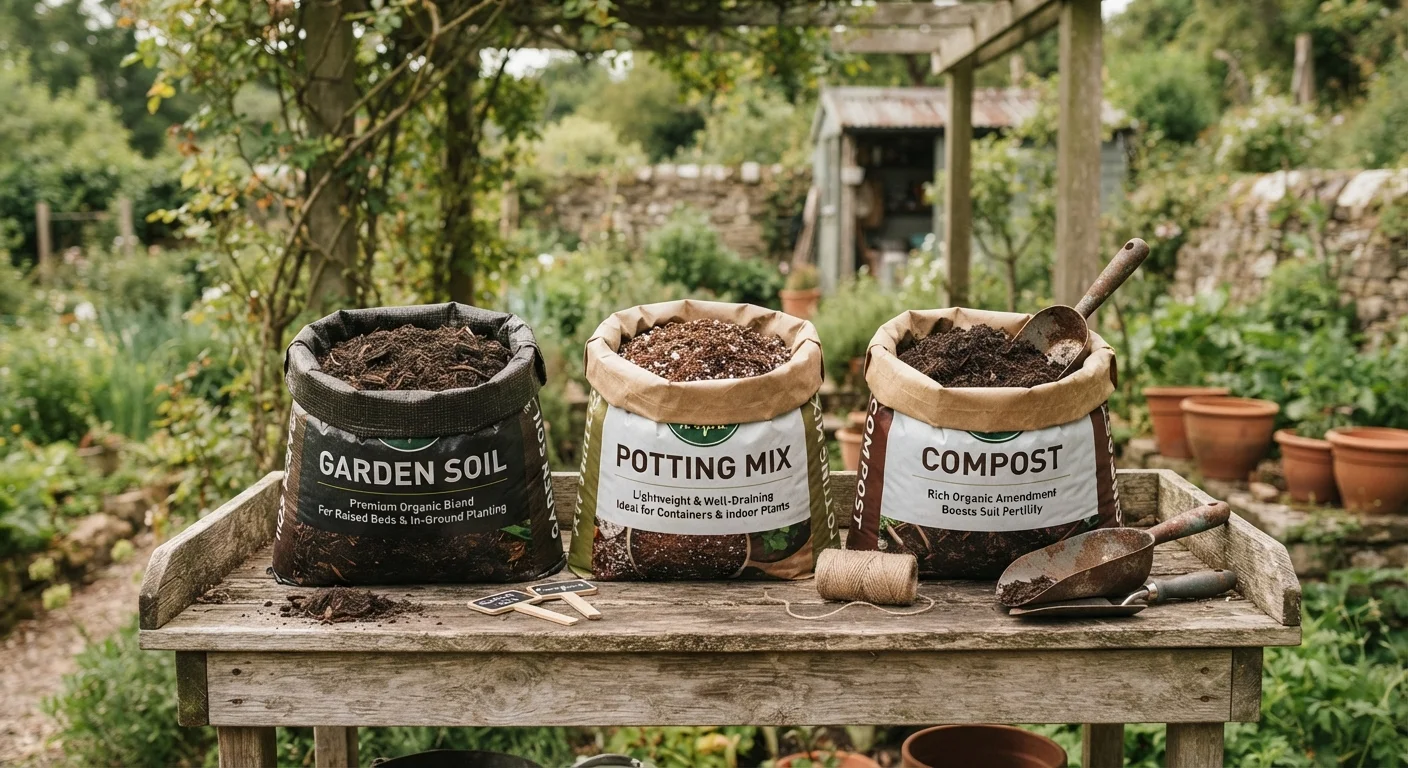
To use it, sift out any large chunks that need more time, then work the finished compost into garden beds, use it as a top dressing around plants, or mix it into potting containers. For more on how compost fits into your growing setup, see our guide to garden soil, potting mix, and compost.
No Outdoor Space? Try Worm Composting
Vermicomposting - using red wiggler worms in a small lidded bin - works well indoors or on a balcony. The worms process kitchen scraps into rich castings (worm compost) that are excellent for container plants. A correctly maintained worm bin produces no noticeable odor and takes up about the space of a storage tote.
Watch Out for Pest Attraction
An uncovered or improperly balanced compost bin can attract rodents and other wildlife, especially in urban and suburban areas. Always use a lidded or enclosed bin if pests are a concern in your neighborhood. Bury fresh food scraps within the pile rather than leaving them on top, and avoid the foods listed in Step 4.
Don't Add These - Ever
Meat, fish, dairy, greasy foods, and pet waste are the most common composting mistakes beginners make. Beyond attracting pests, these materials can introduce harmful bacteria that persist even after composting. Keep a short 'no' list posted near your kitchen scrap bin as a quick reminder until the habit is built.
Once your compost is ready, check out our garden-ready checklist to make sure your beds are fully prepared before planting season begins. If you're working with containers or a small outdoor footprint, growing food in small spaces covers practical approaches that pair well with a compact composting setup.