Why One Room at a Time Actually Works
Whole-home decluttering projects stall for a predictable reason: the scope is too large to feel actionable. Standing in a cluttered hallway staring at years of accumulated belongings triggers a kind of decision paralysis that's well-documented in behavioral psychology - too many choices leads to inaction, not action.
The room-by-room approach sidesteps that problem by shrinking the scope to something the brain can process. Each completed room delivers a concrete, visible result that motivates the next session. It's the same principle behind any habit-building approach: small wins compound over time. If you're curious how this compares to other strategies, our guide comparing category-based and room-by-room decluttering walks through the trade-offs in detail.
This approach also works well for households where not everyone shares the same tidiness standards. Getting one space clean and keeping it that way demonstrates what's possible - and often brings reluctant household members on board naturally. For more on that dynamic, see organizing a home with multiple people.
Progress Beats Perfection Every Time
A room that's 80% decluttered is vastly more functional than one that hasn't been touched at all. Resist the urge to get every decision exactly right on the first pass. You can always revisit borderline items in a future session once the bigger clutter is cleared. Momentum matters more than thoroughness at the start.
What You'll Need Before You Start
The right tools make the process faster and reduce the number of micro-decisions you'll face mid-session. You don't need specialty organizers or storage products before you declutter - in fact, buying storage before you've sorted what you own is one of the most common (and expensive) mistakes. Start with what you already have.
Labeled sorting bins or bags
Keep your three sorting categories physically separate so decisions stay clear throughout the session.
Timer
Caps each work session at a set length, reducing mental fatigue and making it easier to start.
Donation box or bag
Holds items destined for a local donation center so they leave your home in a single trip.
Notepad or notes app
Lets you log deferred decisions quickly so you can keep moving without getting stuck.
Trash bags (heavy-duty)
Contain broken, expired, or truly unusable items for immediate disposal.
What you will need
The Step-by-Step Process
Follow these steps in order. Each one is designed to reduce friction and keep you moving forward, even when motivation dips partway through a session.
Choose your starting room strategically
Pick a room that's small but complete - a bathroom, a home office, or even a single closet. Avoid starting with the most emotionally loaded spaces (like a storage room filled with family keepsakes). A quick, visible win in a contained space builds the confidence and momentum to tackle harder areas later.
Set a focused time limit before you begin
Before touching a single item, set a timer for 30 to 45 minutes. A defined endpoint removes the mental pressure of an open-ended task. When the timer goes off, you stop - even if the room isn't finished. You can always schedule a second session. Consistency over several shorter sessions beats one exhausting marathon every time.
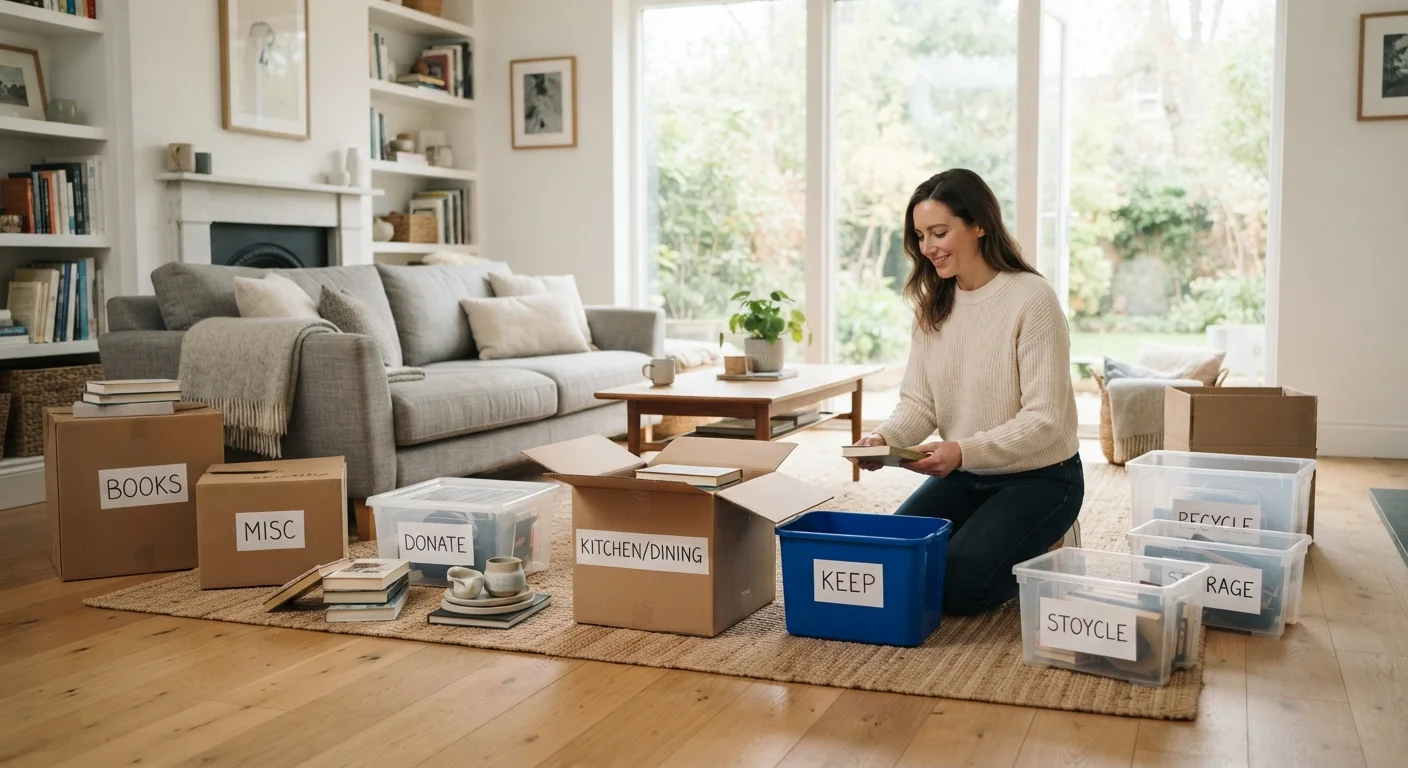
Set up your three sorting zones
Place your three labeled containers - Keep, Donate, and Discard - in visible spots inside the room. A simple three-category system reduces decision fatigue dramatically. If you're unsure about an item, jot it on your notepad and keep moving. Revisit deferred items at the end of the session with fresh eyes.
Work one zone within the room at a time
Divide the room into natural zones - surfaces, drawers, shelves, floor - and complete one before moving to the next. Picking up and putting down items randomly across a whole room creates the illusion of progress without actually finishing anything. Zone-by-zone movement keeps the process visible and satisfying.
Remove donations and discards from your home immediately
As soon as a session ends, move the Donate and Discard bags out of the room - ideally out of the house entirely. Put the donation bag in your car, take the trash to the bin. Items that linger inside your home have a way of migrating back to shelves. Physical removal is the step most people skip, and it's why clutter often returns.
Schedule your next session before you finish the current one
Before you leave the room, open your calendar and block time for the next session. Motivation peaks right after a productive declutter - use that moment to commit to the next room. Even scheduling just one week out keeps the project alive and prevents the common pattern of a single burst of effort followed by months of stalling.
Don't Skip the Removal Step
Sorted bags and boxes left sitting in a room for days tend to get unpacked again, especially in households with multiple people. As soon as a session ends, physically remove anything leaving the house. If a donation run isn't immediately possible, store bags in a locked car or garage - somewhere inaccessible during second-guessing moments.
Keeping the Progress You've Made
Decluttering a room is only half the equation. Without a simple maintenance habit, clutter drifts back within weeks. The most effective habit is also the most straightforward: deal with new items the moment they enter the room. Open mail at the recycling bin. Put purchases away the day they arrive. Return borrowed items before they become fixtures.
The one-in, one-out principle is a popular long-term tool - but it's worth understanding why it's harder to maintain than it sounds before relying on it. For smaller homes where space is a constant constraint, small-space organization strategies offer additional ideas scaled to tighter footprints.
Once you've cleared every room, a seasonal declutter checklist can help you stay ahead of accumulation before it becomes overwhelming again.
Shared Homes Need a Shared Plan
If you share your home with other people, avoid sorting or discarding items that belong to others without their involvement. Doing so can damage trust and create conflict that derails the whole effort. Discuss the declutter plan with your household before starting, and keep each person's belongings within their own decision-making authority.